
Hello! Welcome back! Today I will be showing you how to make a viking tunic.
This garment, like other items of clothing from the early Middle Ages, are incredibly easy to make. You only use rectangles and triangles.


Brief History
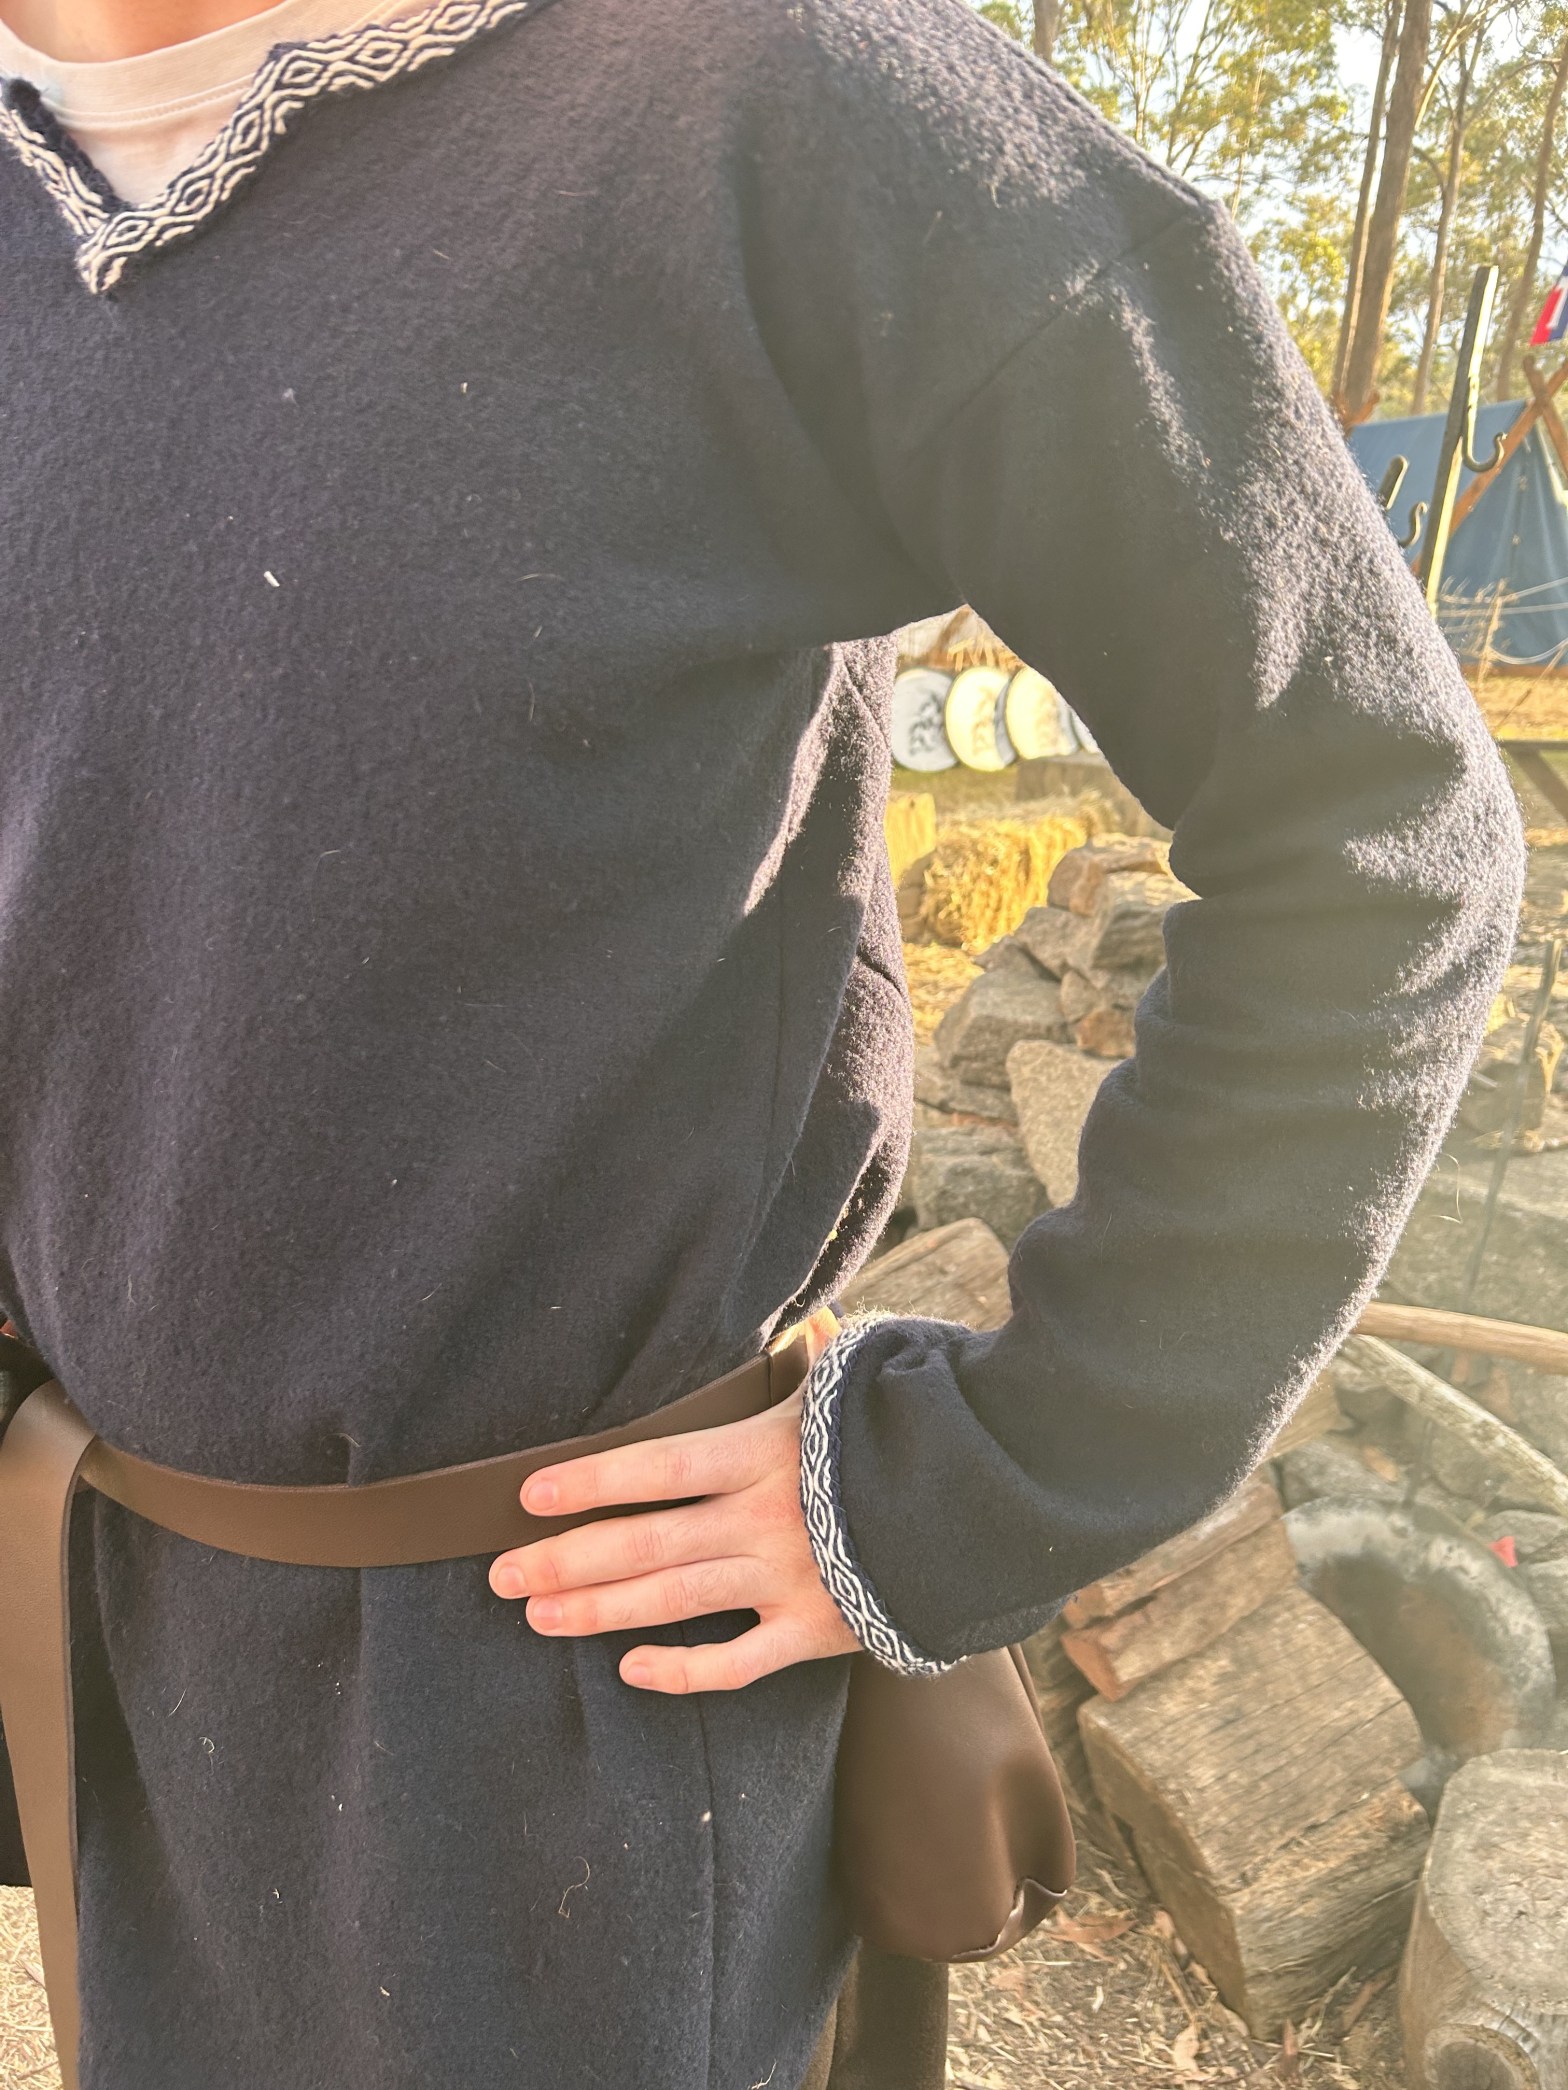
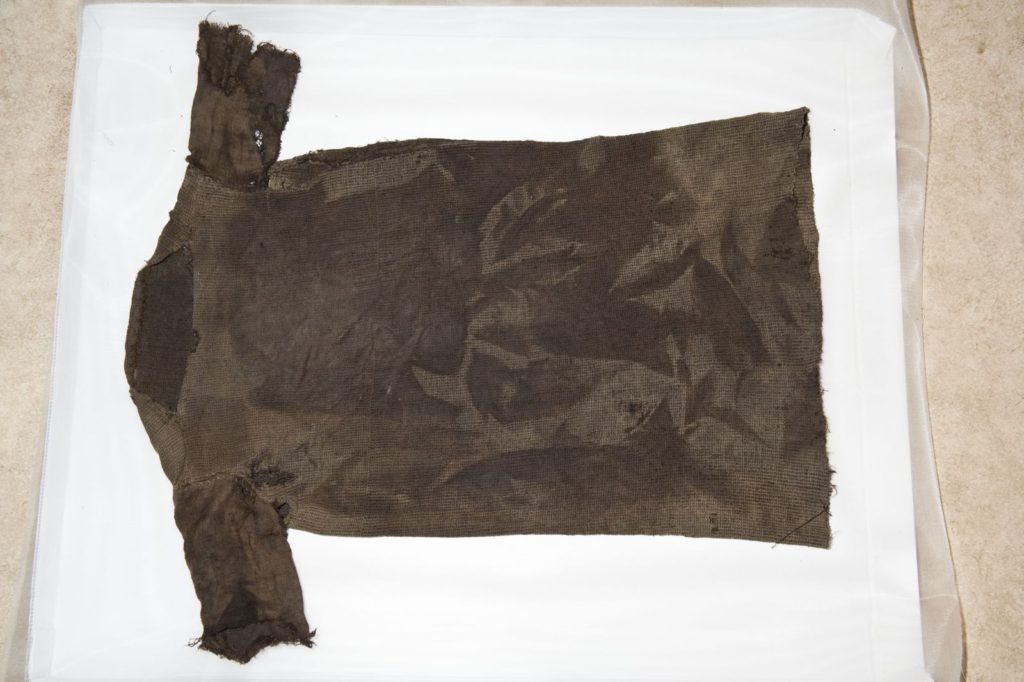
Viking tunics, were an everyday item of clothing for both men and women, and were between mid thigh and knee length. Made from wool, flax, linen or animal skins, they were made in the home by women, and often decorated with tablet woven trims.

Many people think that the Middle Ages would’ve had dull colours, by Vikings loved their colour! They would use plants to dye their clothing:
- Woad to get blue
- Madder to get red
- Hedge Bedstraw to get orange or rose
- Heather and scentless mayweed for yellow
- Greater knapweed for green and many more
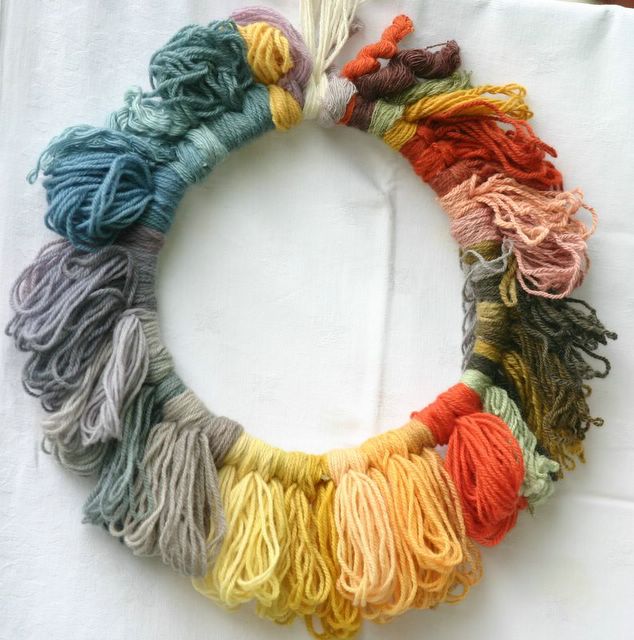
Just look at all of those beautiful colours!
Tutorial
Alrighty let’s get started! For this tutorial I created a key:
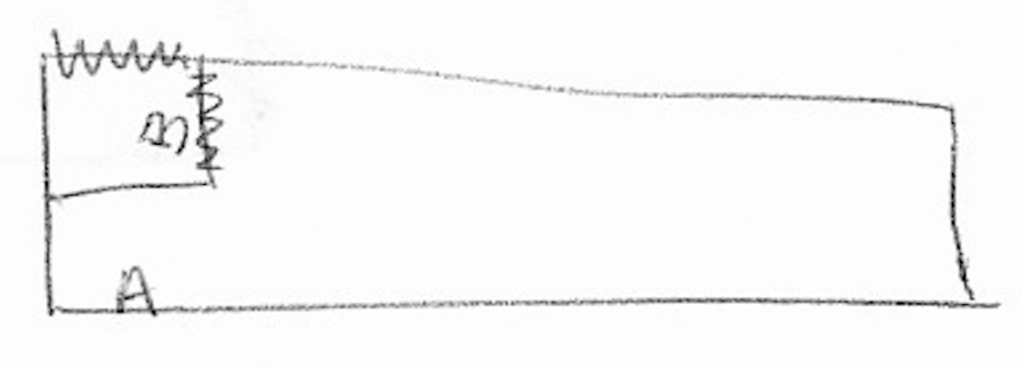
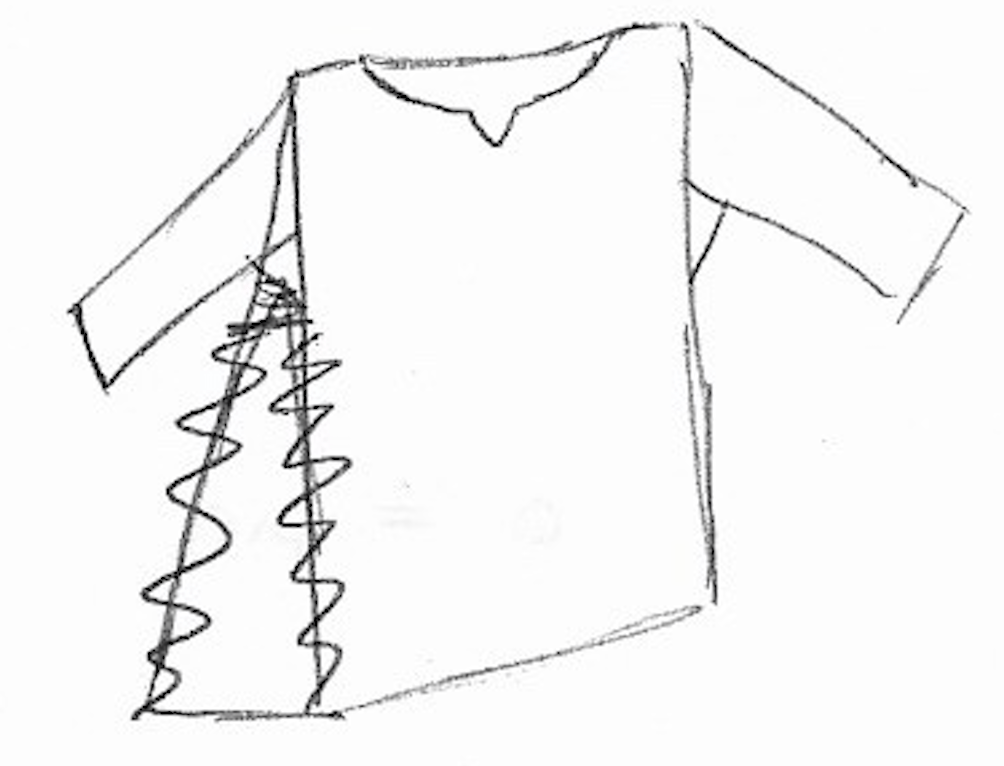
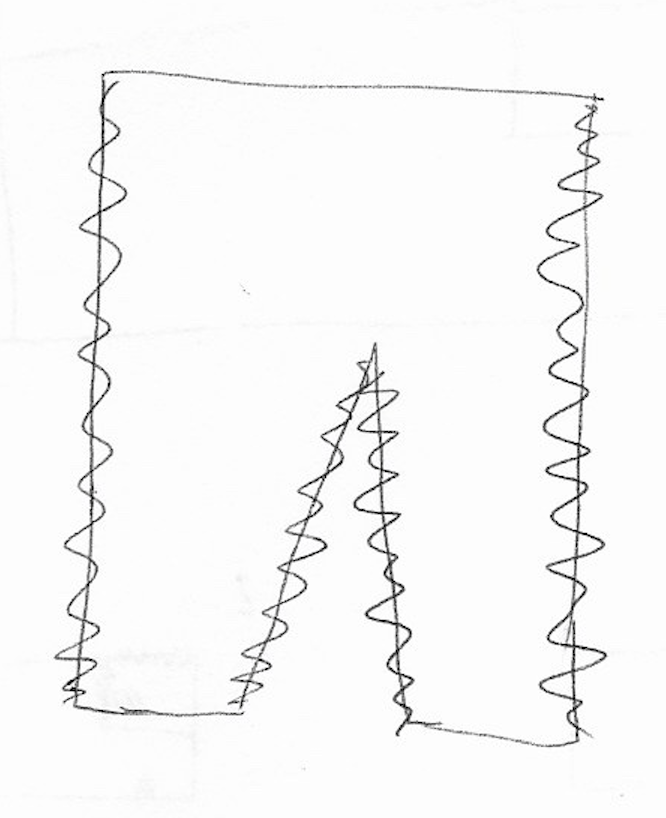
Here is the pattern for your tunic.
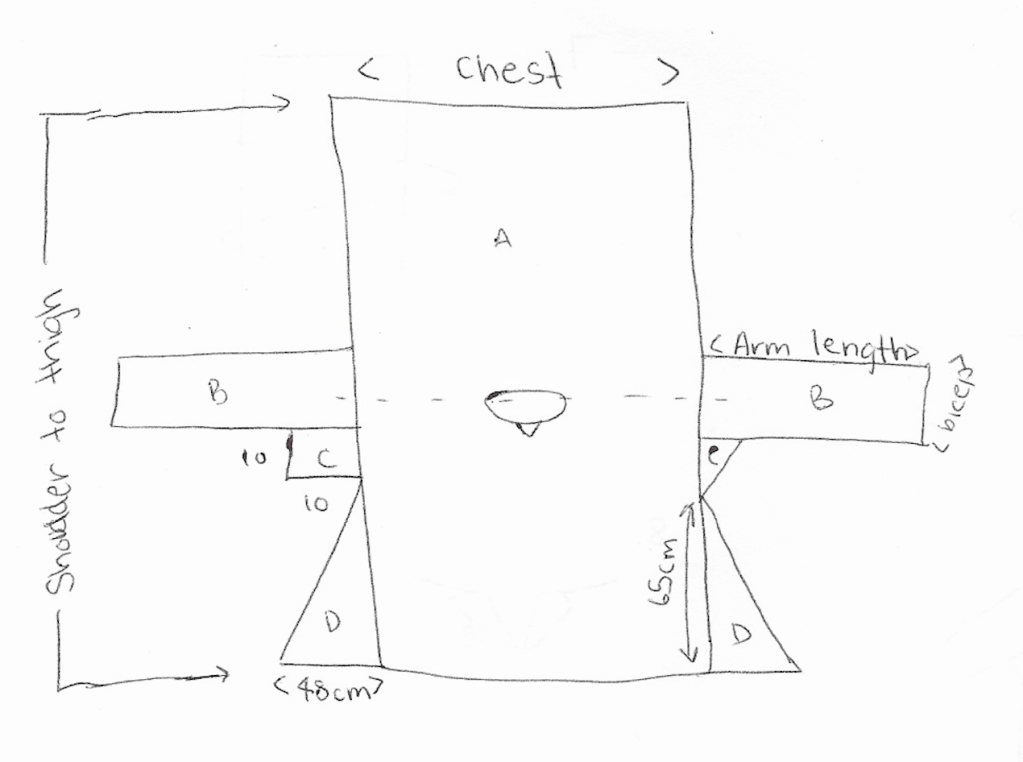
For this project you will need the following measurements:
- Chest – width of piece A
- Shoulder to mid thigh/knee x2 – for length of piece A
- Shoulder to wrist (arm length) – for length of piece B
- Bicep circumference – for width of piece B
- Head circumference
For the gores, I made the width 48cm (with seam allowance) and 65cm tall (with seam allowance). The gussets for the armpit were 10cm x 10cm.
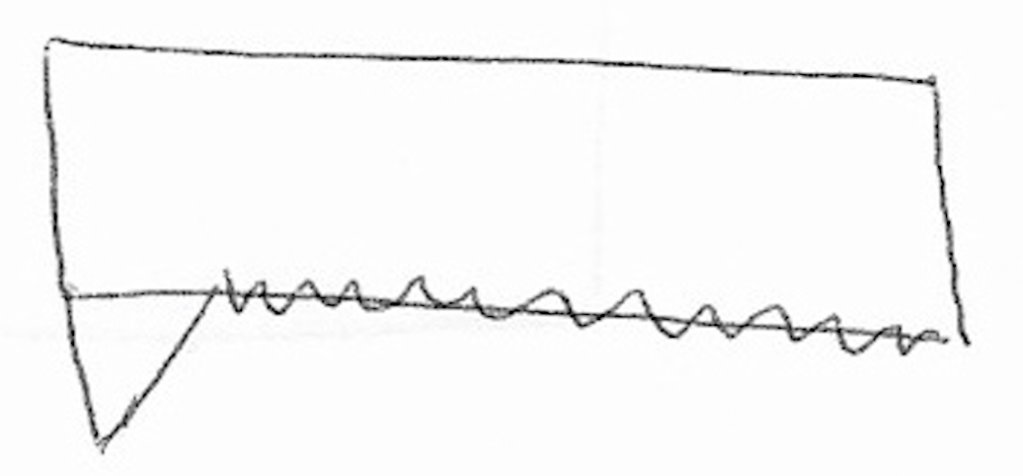
Recommended fabric layout:

Construction
With all your pattern pieces cut out, lets get started!
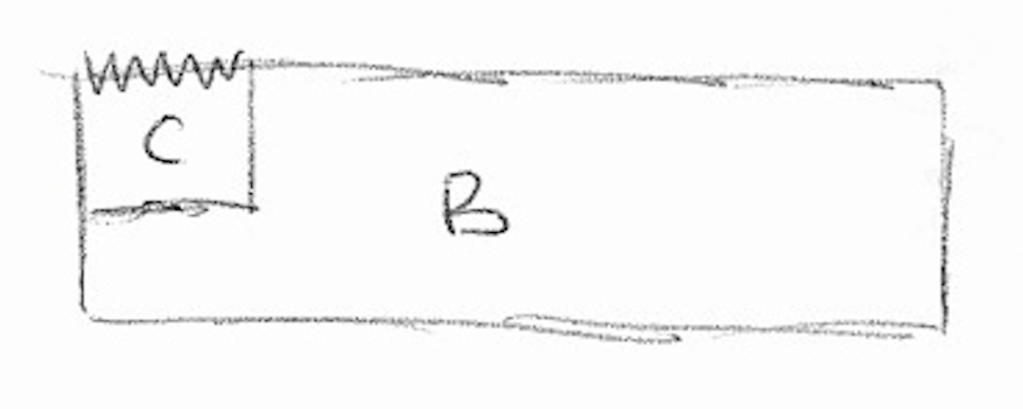
Step 1: Sew one side of piece C to the length of piece B
Step 2: Sew side A to side B, to create a diamond shape.
Step 3: Sew down the length of your sleeve. It should look like this when laid flat.
Step 4: Pin your tunic piece where the middle line is.

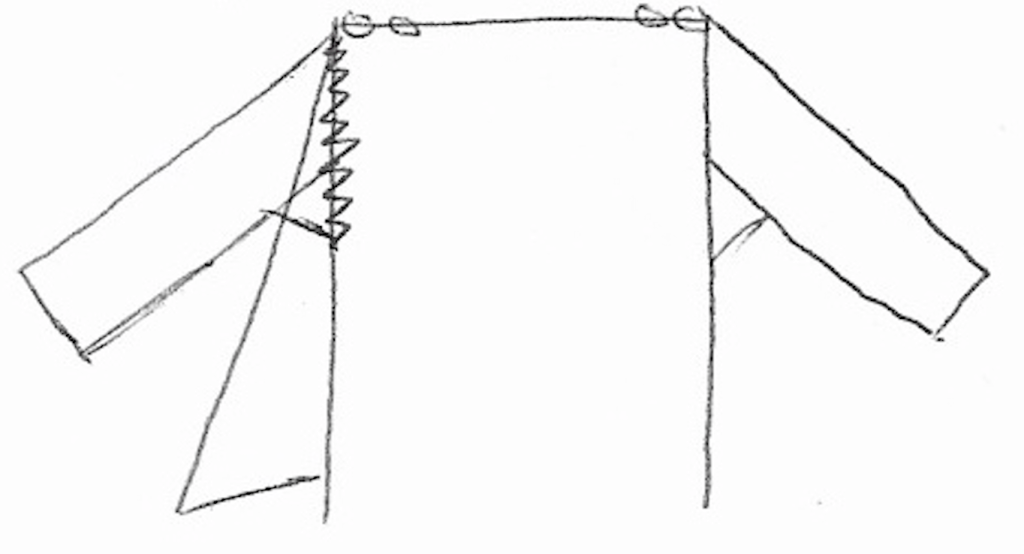
Step 5: Sew in your sleeves with right sides together, matching the top of the shoulder to your pinned shoulder seam.
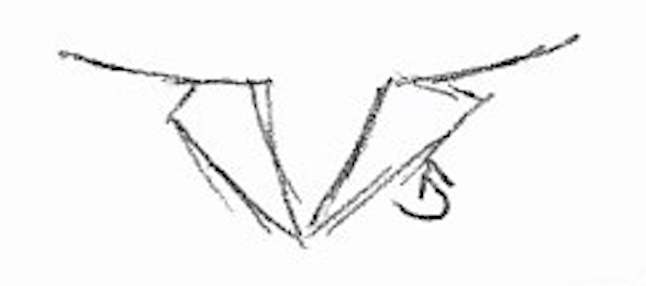
Step 6: Using your head circumference, mark out your neckline, with a 1.5 inch line in the centre front, to create that ‘v’ shape.
Step 7: Add in your side gores. Start sewing from the bottom up, then close the gap between the armpit and top of the gore.
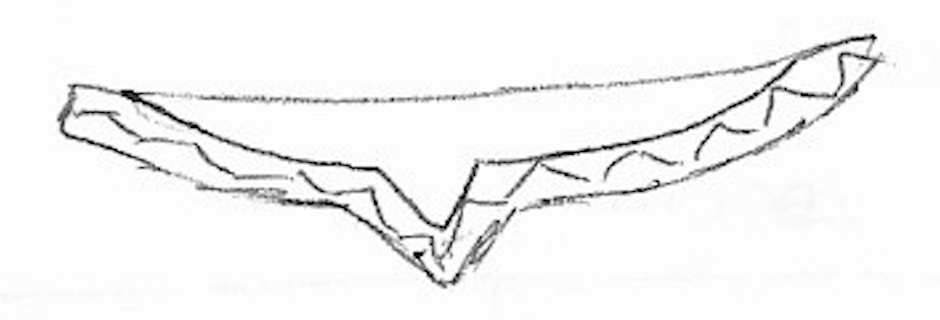
Step 8: On your neckline, fold the sides of the ‘v’ slit to one side, and fold it over once more. Whip stitch this down to created a felled seam. You will need to create lots of tiny stitches at the point of the ‘v’ to prevent ware and tear.
Step 9: Fold over each of your hems twice, and whip stitch them down.
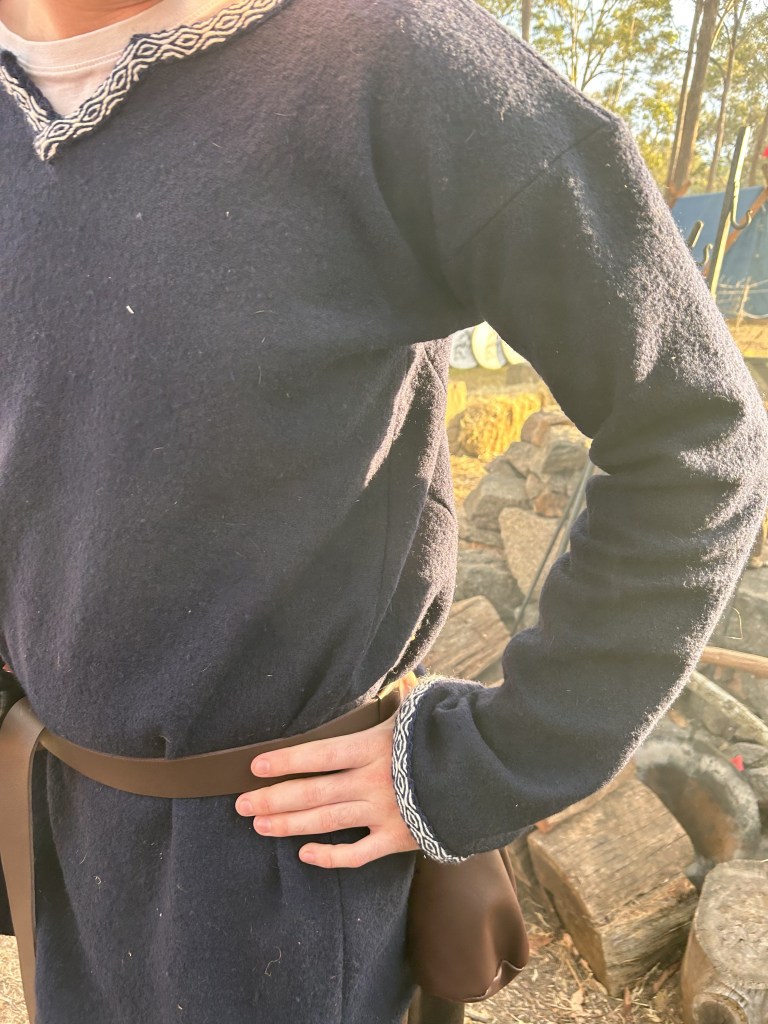
*Optional* step 10: Sew on some decorative tablet woven trim to the neckline and cuffs of your sleeves. I got mine from GewandUndTand on Etsy
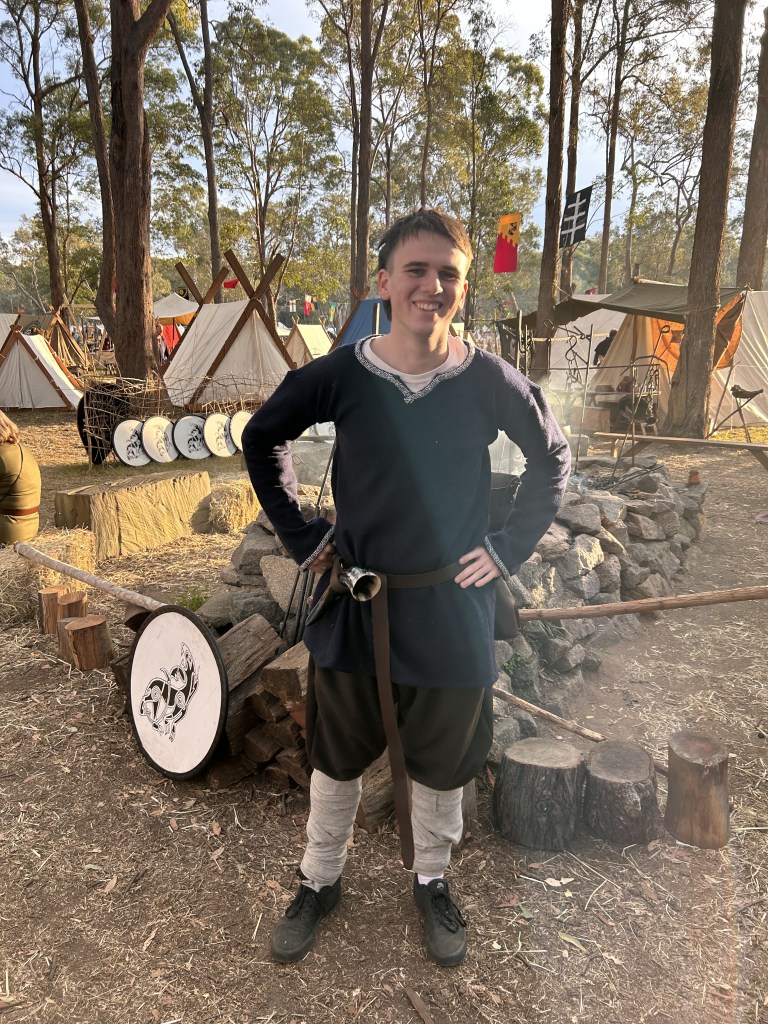
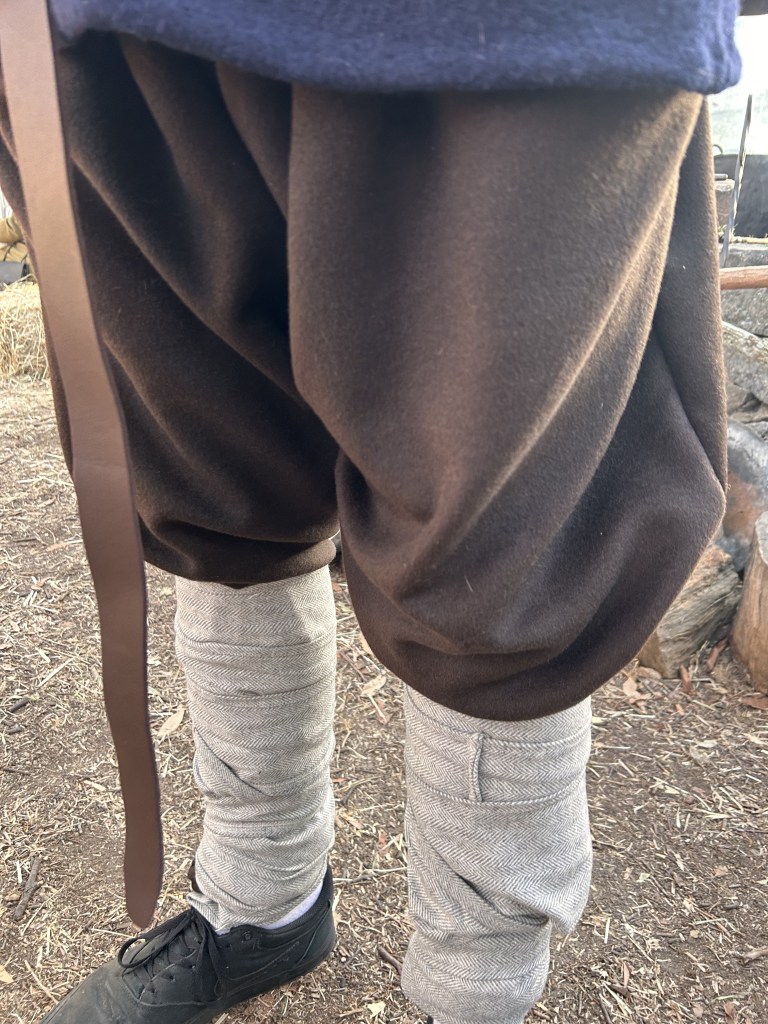
And just like that you’re done! What’s that? You want a bonus? Well ok… here’s how I made the pants for my partner.
Quick and Simple Pants
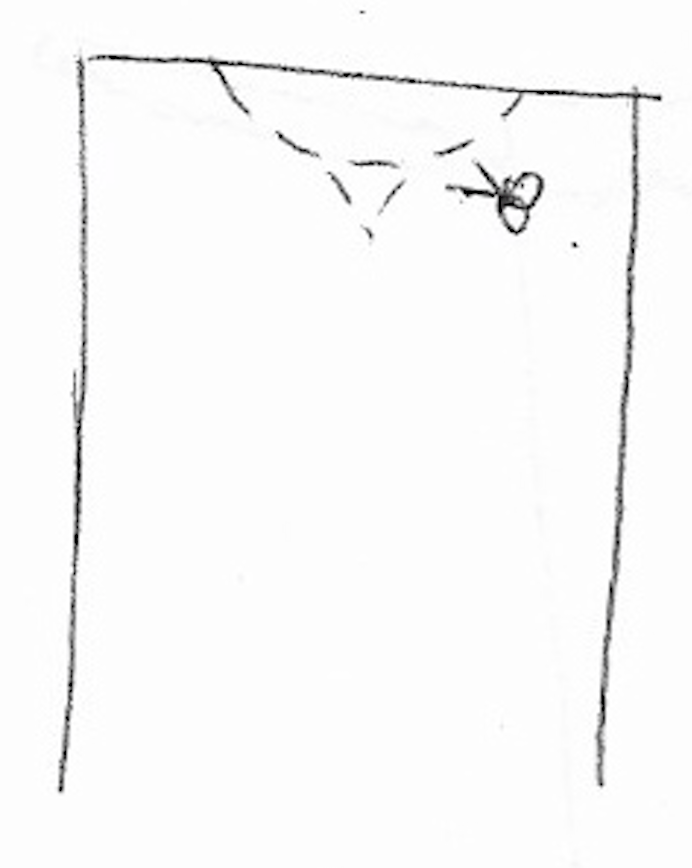
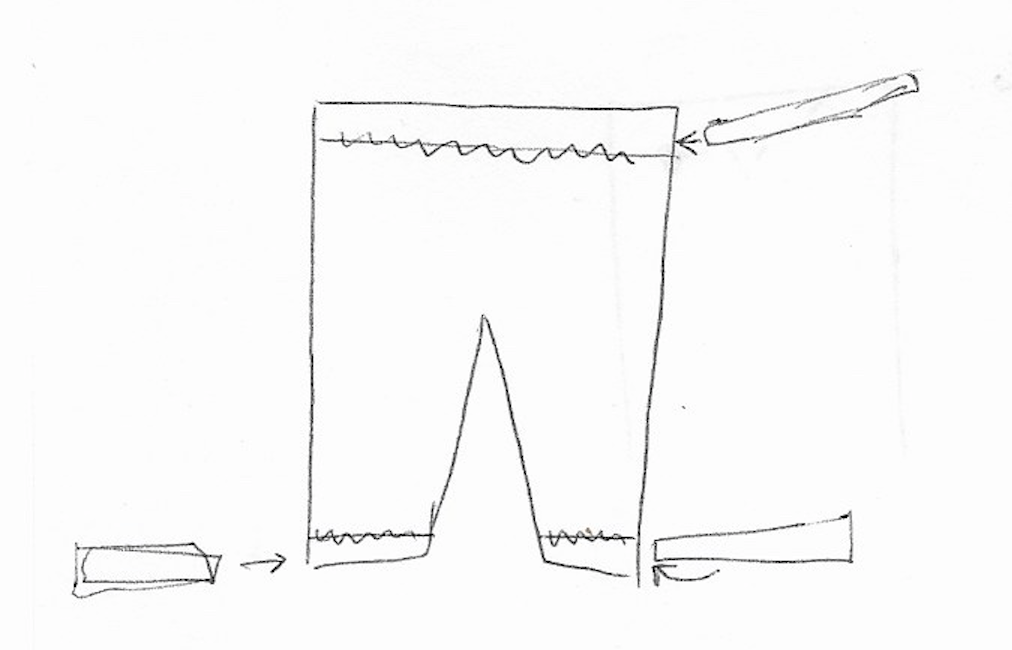
I had no idea how to make pants and that was scary for me, so I found a pattern that looks like this online, but I can’t find the original source now…
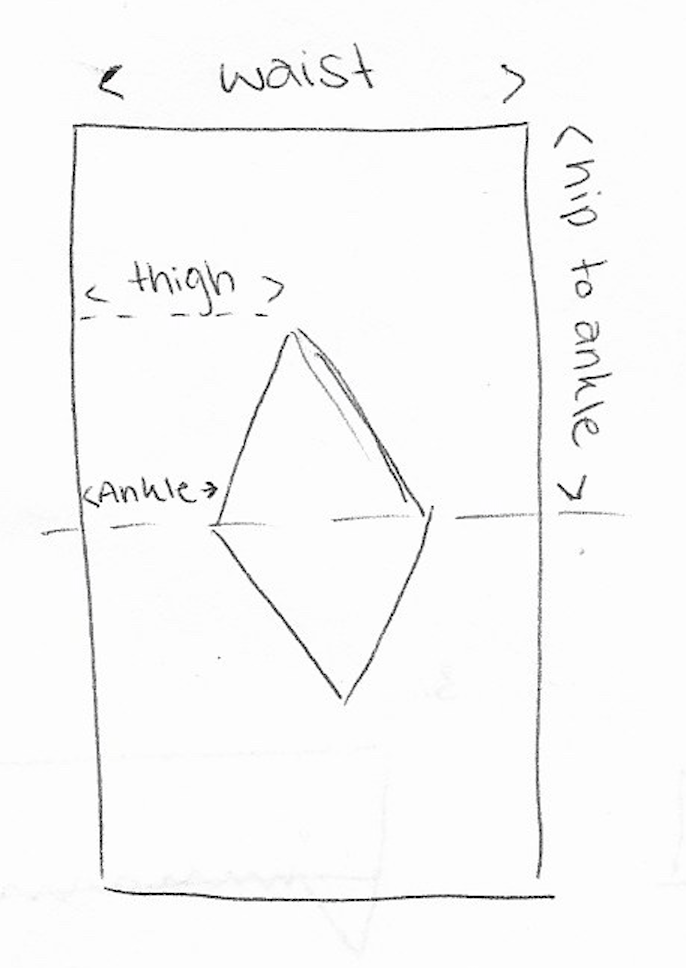
That’s literally the pattern, how simple??
Just sew up the sides, and up the inner leg.
Fold over the waistline and ankles and sew a little tunnel for you to insert your elastic.
And that’s it. All done! I hope to learn how to properly make pants in the future, but these worked for now.
Be sure to share your creations with me on Instagram @medievalmusgrave

Sewing my way through the Middle Ages and beyond
Follow me on Instagram and tag me in your recreations!
