


Hello! Welcome back! Today I will be showing you how to make a Viking dress. This pattern consists of three shapes; rectangles, triangles and two squares. How easy!
Brief History
Unfortunately there isn’t much artwork of Vikings or their clothing, or much available information on females clothing.
What we do know is the materials their clothing was made from, such as wool and flax! This dress is meant to be worn as an undergarment and is thought to have been a plain or natural colour, but don’t let that stop you! There’s nothing to say they didn’t use bright colours as they had lots of dying options.
Plants used for dying clothing included:
- Woad to get blue
- Madder to get red
- Hedge Bedstraw to get orange or rose
- Heather and scentless mayweed for yellow
- Greater knapweed for green and many more
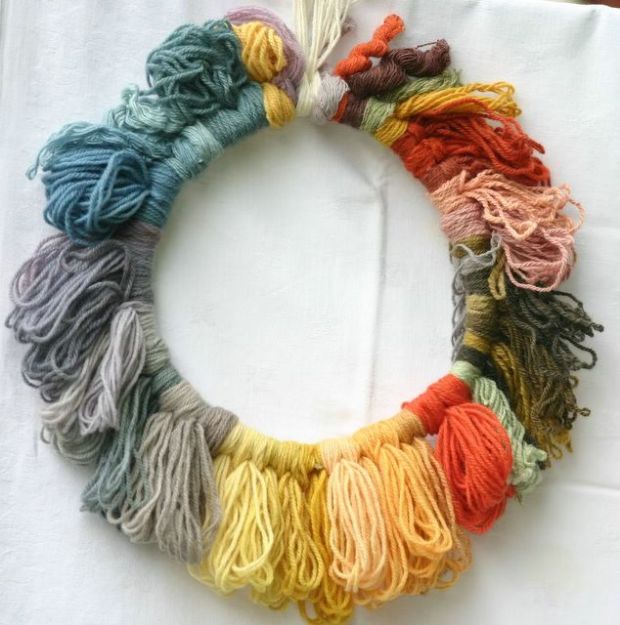
look at all the bright and beautiful colours!
Tutorial
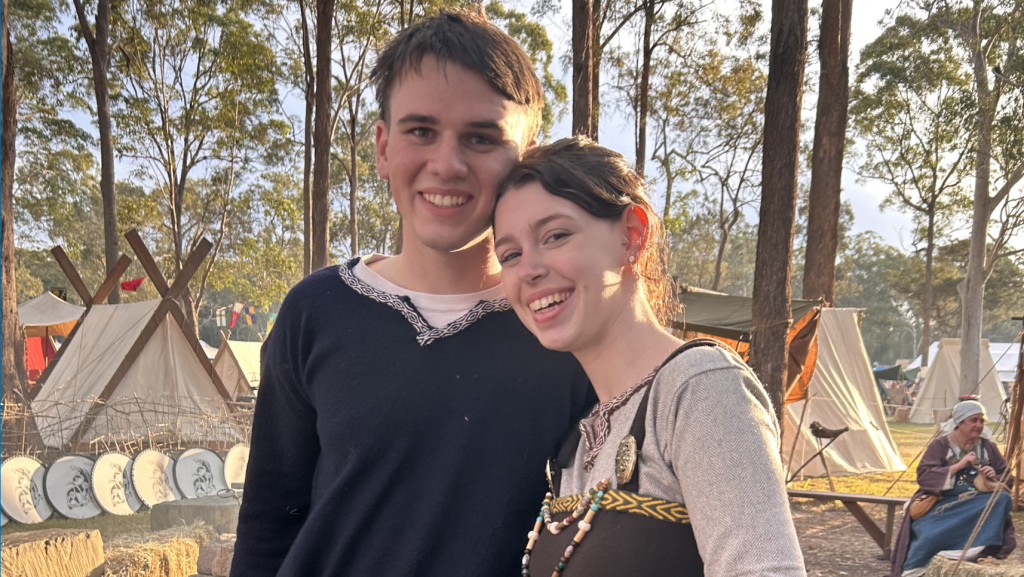
Alright! Let’s get stuck in to making this dress! For this dress I chose to use a woollen herringbone fabric, a fabric that is thought to have a similar weave to Viking age clothes.
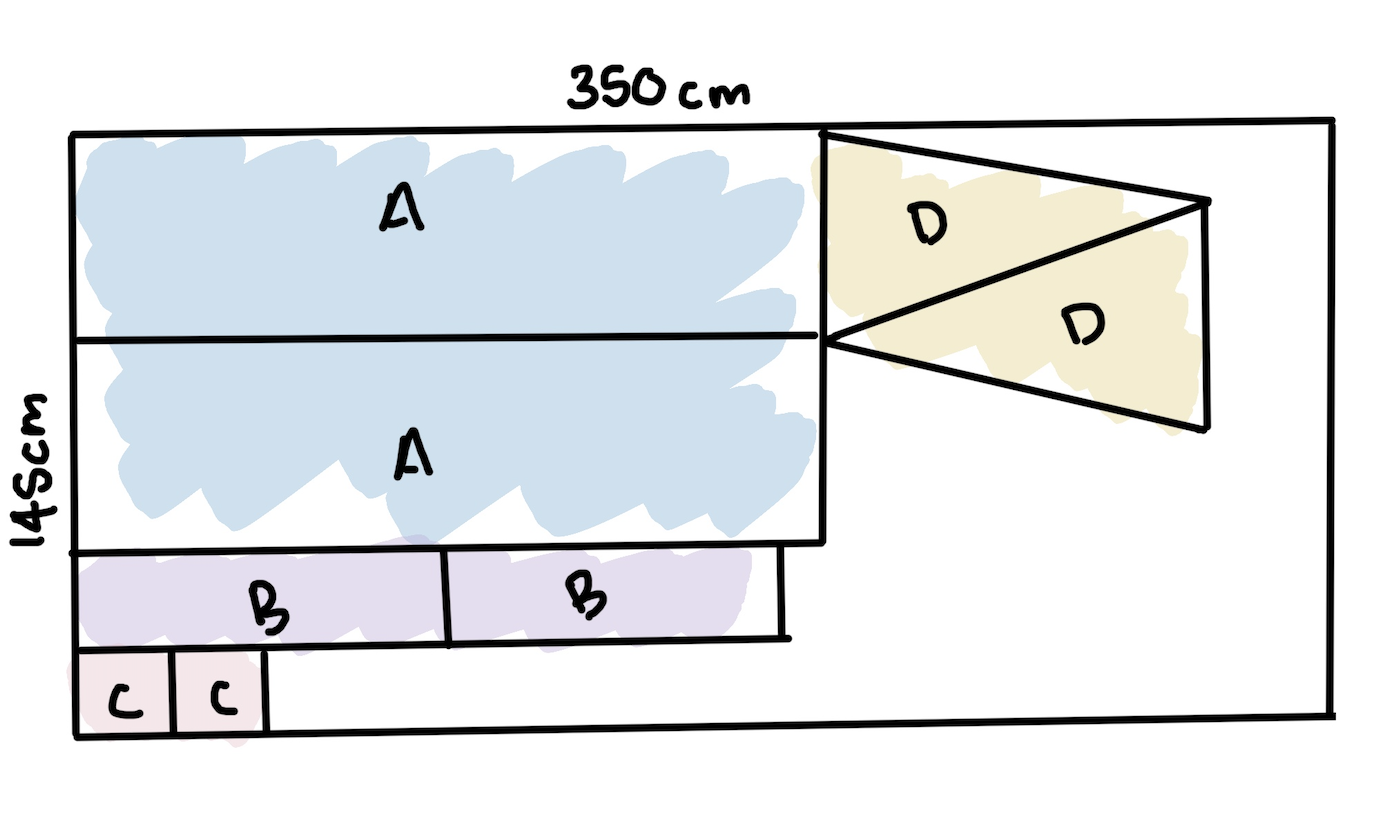
Below is the pattern for your dress, much like other clothing from the Middle Ages, it’s very simple! (P.S do you like the new style?)

For this project you will need the following measurements (refer to above image to see where they apply if you’re a more visual learner);
- Full Bust divided by 2 – this will be the width of your rectangular body piece (A), you will need 2 of these pieces.
- Shoulder to floor – I recommend having the top of your tape measure on the floor and hold the rest on the centre of your shoulder. This will be for the length of your rectangular body piece (A).
- Shoulder to wrist – this will be the length of your sleeve (B).
- Bicep circumference – this will be the width of your sleeve (B).
- Waist to floor – or for a little extra room measure from your undercuts to the floor. To find your waist, bend to the side and where your skin folds is your waist (D)
- Pattern piece C is 10cm x 10cm, and this is what I would recommend, but feel free to make this bigger.
- For the base of my gores (D) I used the measurement of 35cm, but if you would like a wider dress circumference, make this bigger.
Now that you have all your measurements, here is a recommended pattern layout, not entirely to scale but it’s a good guideline:
Construction
Alright lets get sewing!
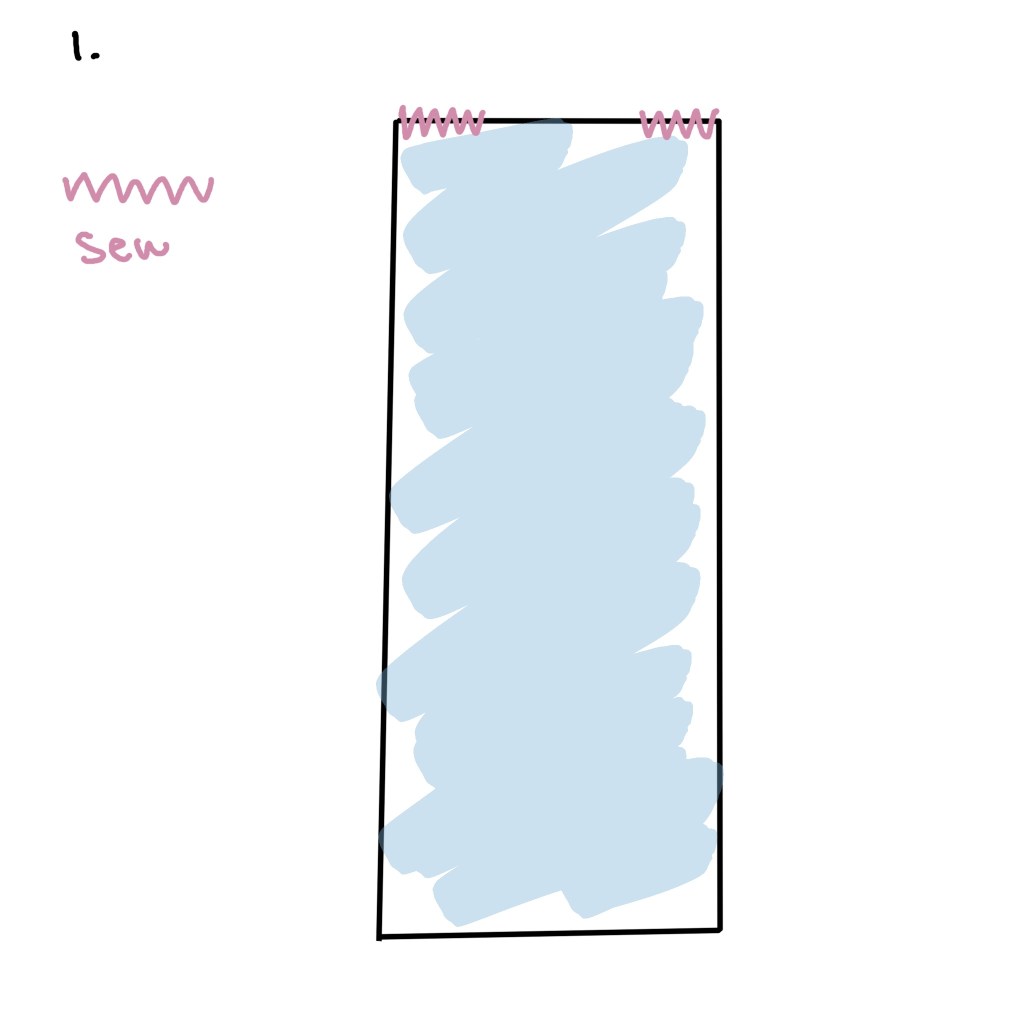
Step 1: Begin by sewing piece A together at the shoulders. Be sure to leave room for your head!
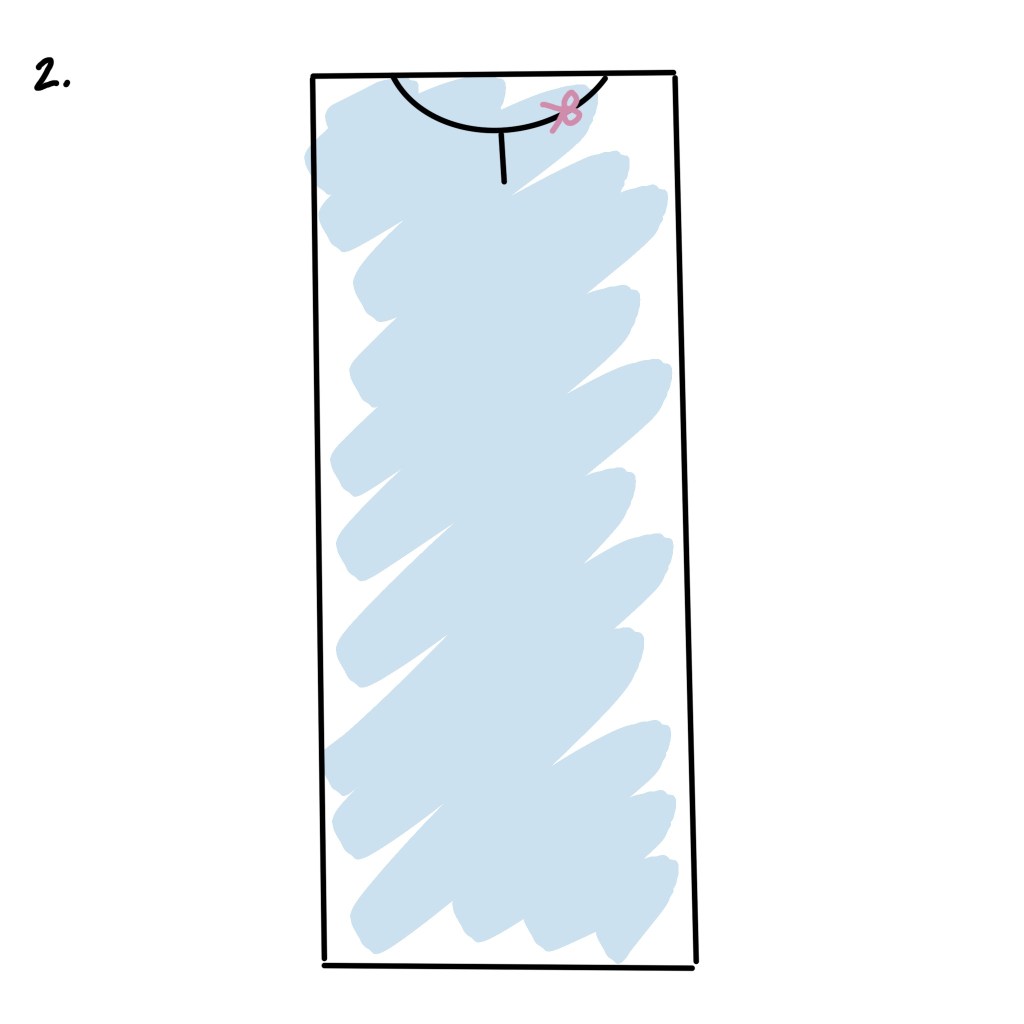
Step 2: Mark out a neckline shape with chalk or washable fabric marker, I recommend doing this while wearing your garment. From the centre of your neckline, draw a 2 inch (4.5cm) line. Cut this out once you’re happy with the shape.
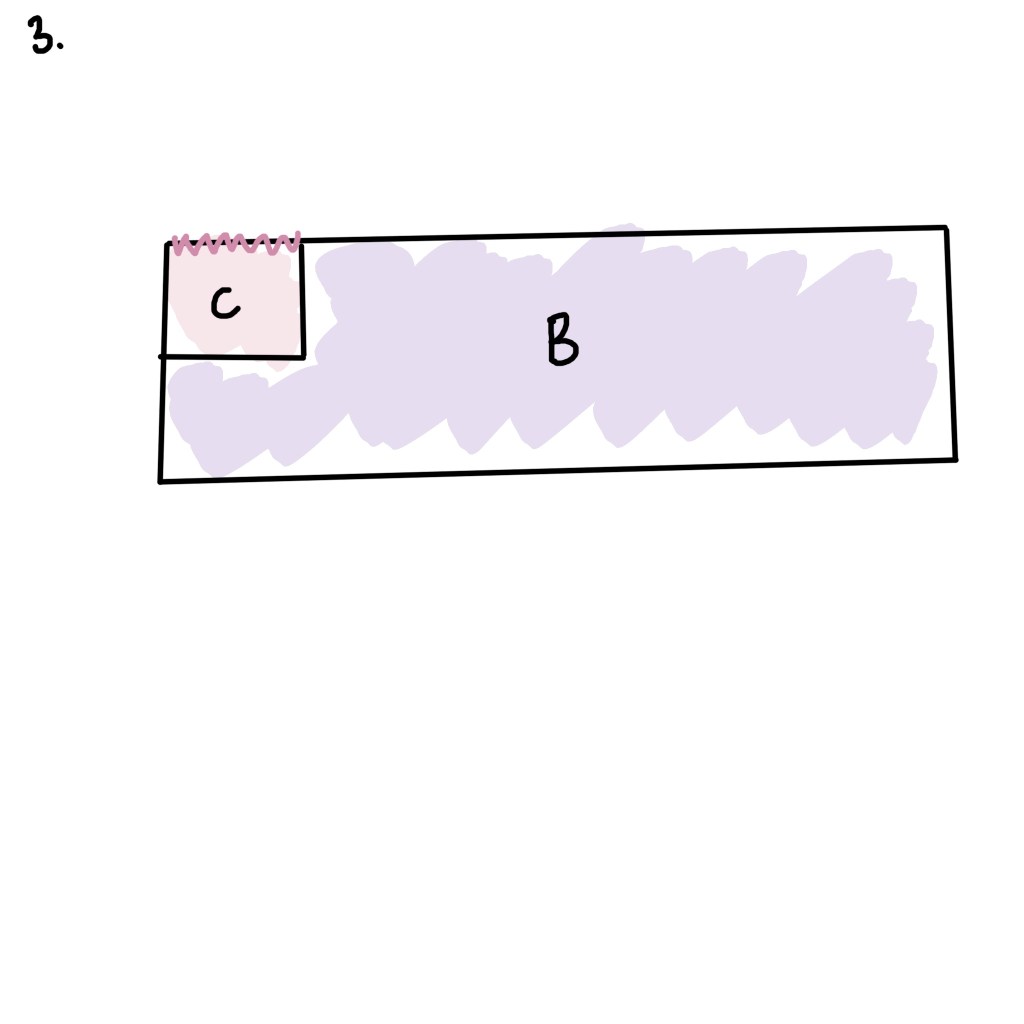
Step 3: Moving onto the sleeves! Sew one side of C to the length of B, as pictured.
Throughout all the sleeve steps, overlap each stitch to avoid holes.
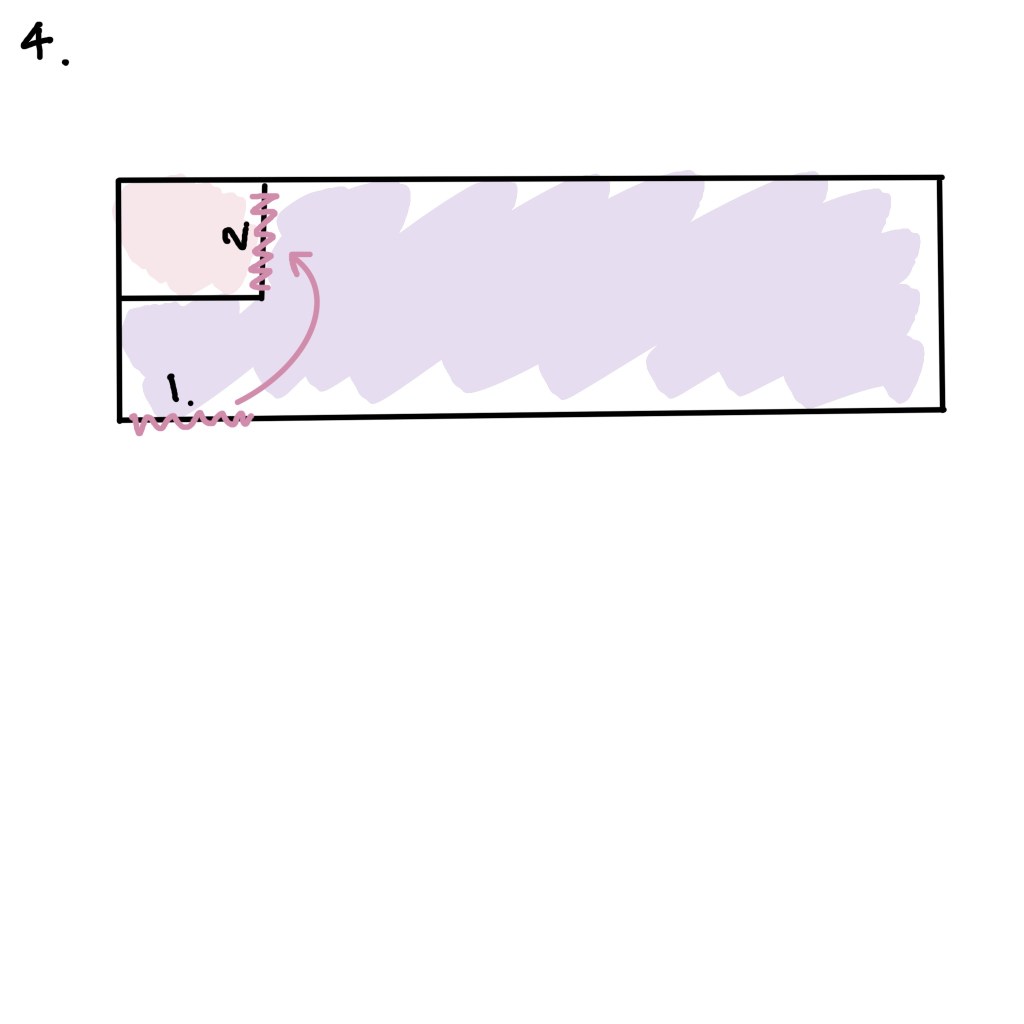
Step 4: Now sew side 1 (as pictured) of piece B to side 2 (as pictured) of piece C.
It should make piece C look like a diamond when attached.
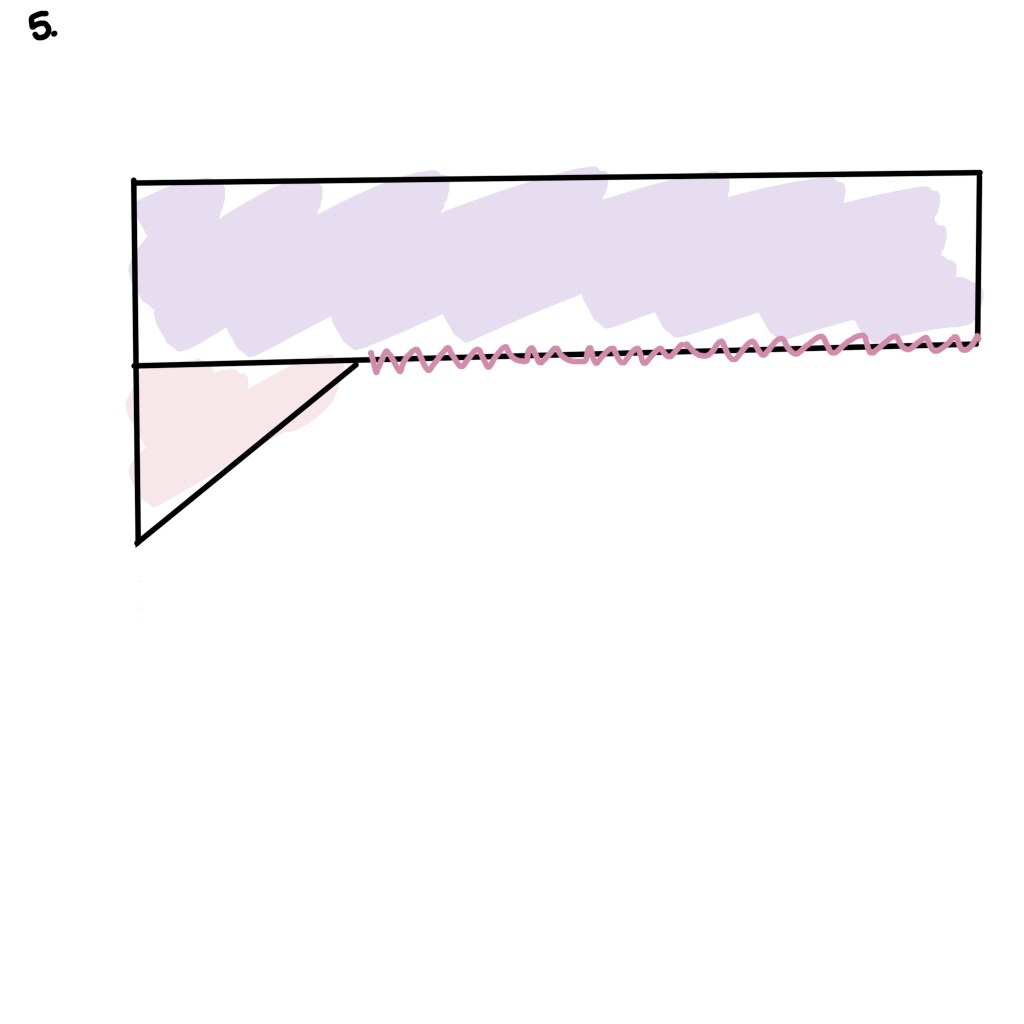
Step 5: when the sleeve is folded in half it should look like a triangle.
With the sleeve folded in half, sew down to the wrist. Repeat these steps for the other sleeve.
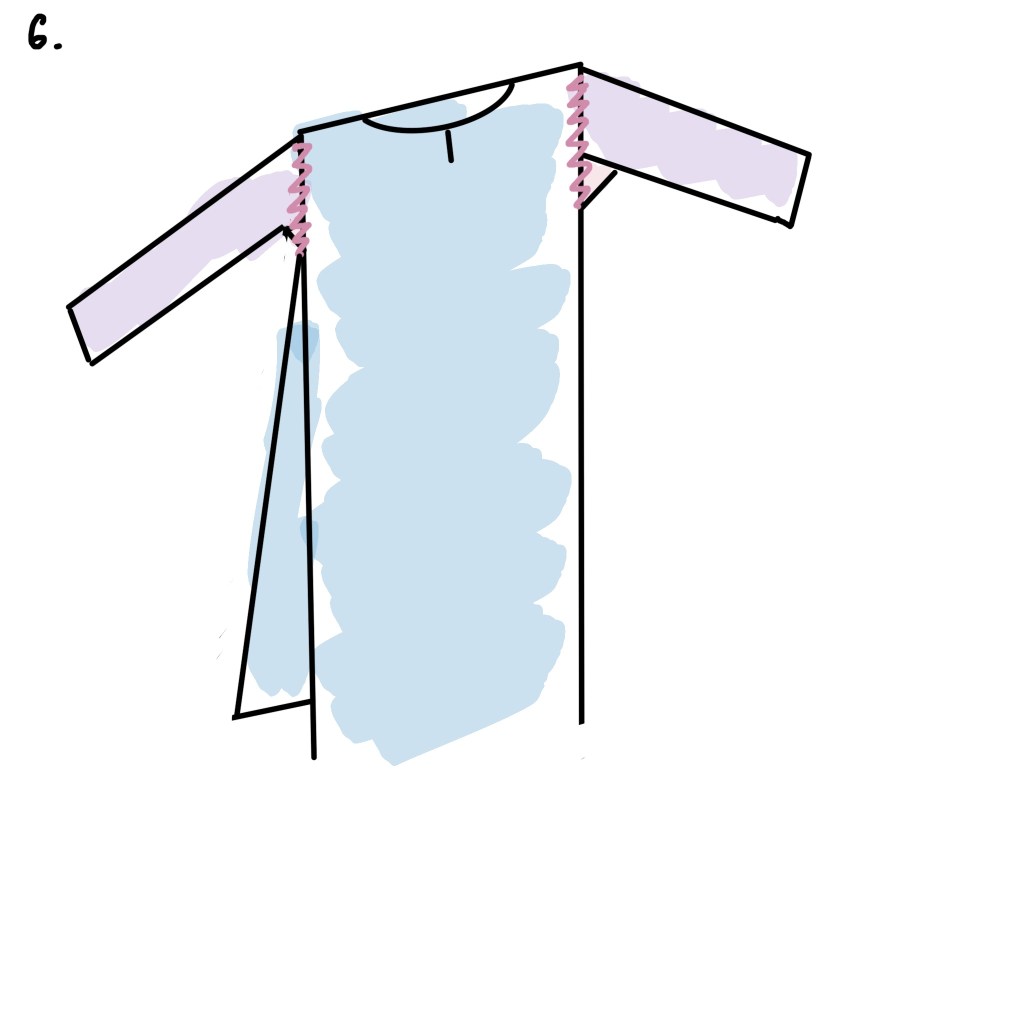
Step 6: Now to attach the sleeves to the body!
With right sides together, pin the sleeves to the body with the top of your sleeve on the shoulder seam, and sew.

Step 7: Now to attach the gores (D)!
Starting from the bottom of the dress attach one side of D to the front of A, and the other side of D to the back of D.
Once gores are attached, sew the side seams between the armpit and top of the gores closed.
Congrats! The construction is complete!
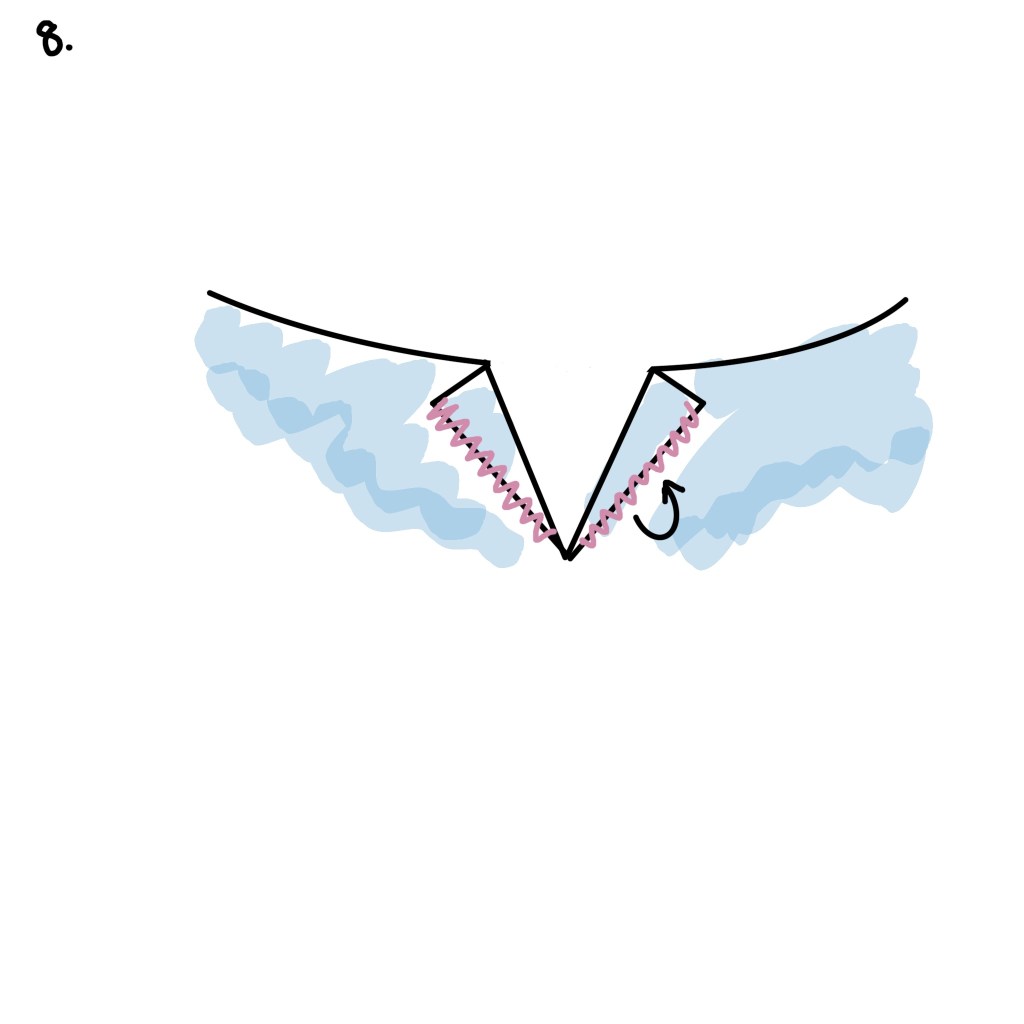
Step 8: Now to make things neat.
Fold the sides of the split on your neckline inwards, twice, so it is rolled under itself.
Pin and sew down with a whip stitch.
TIP! to avoid seeing stitches on the outside of your dress, only pick up a small amount of fabric when sewing it down.
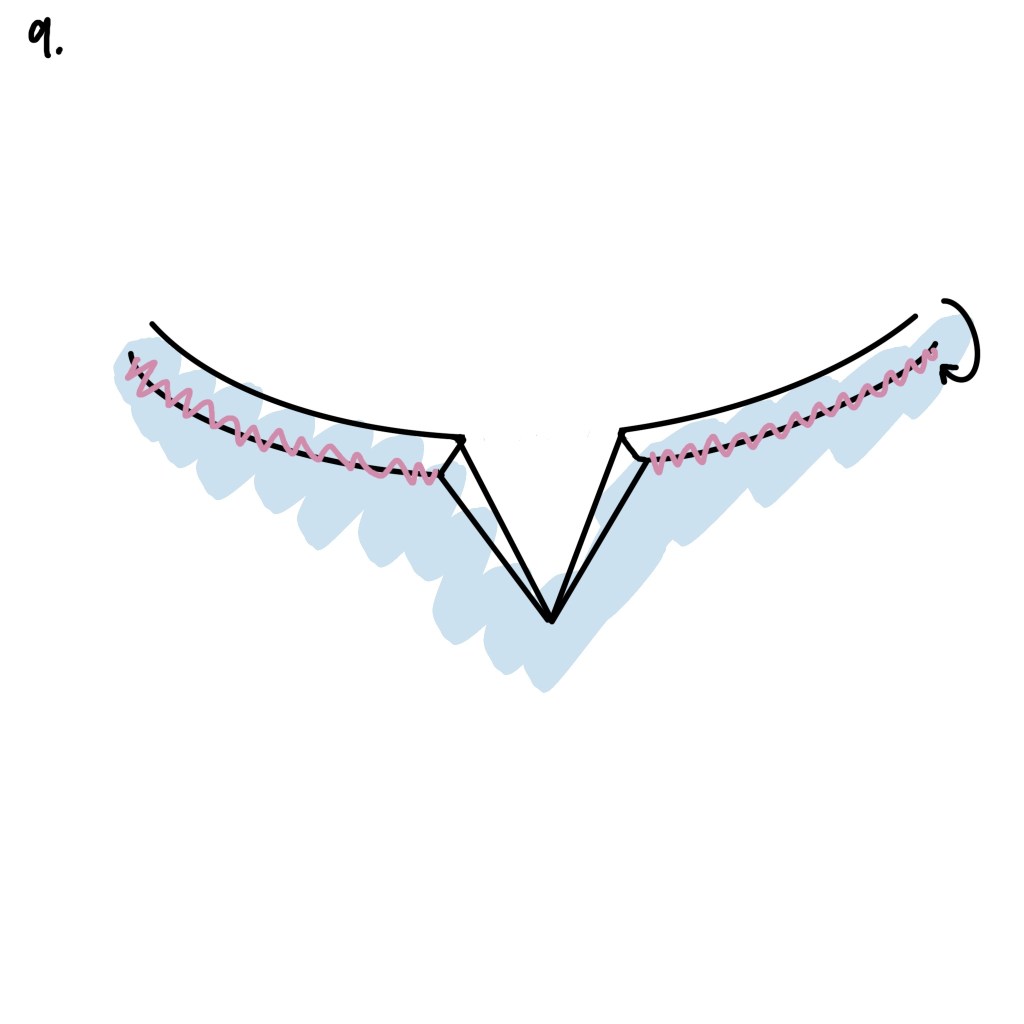
Step 9: With the rest of the neckline, fold it inward twice, so it’s rolled under itself, just like the slit.
Pin and sew with a whip stitch.
Repeat this to hem the wrists, and skirt of the dress.
Step 10: To lay all the inseams flat, I used a blanket stitch and hand stitched all of the seams down to one side.
Time consuming, but so worth it!
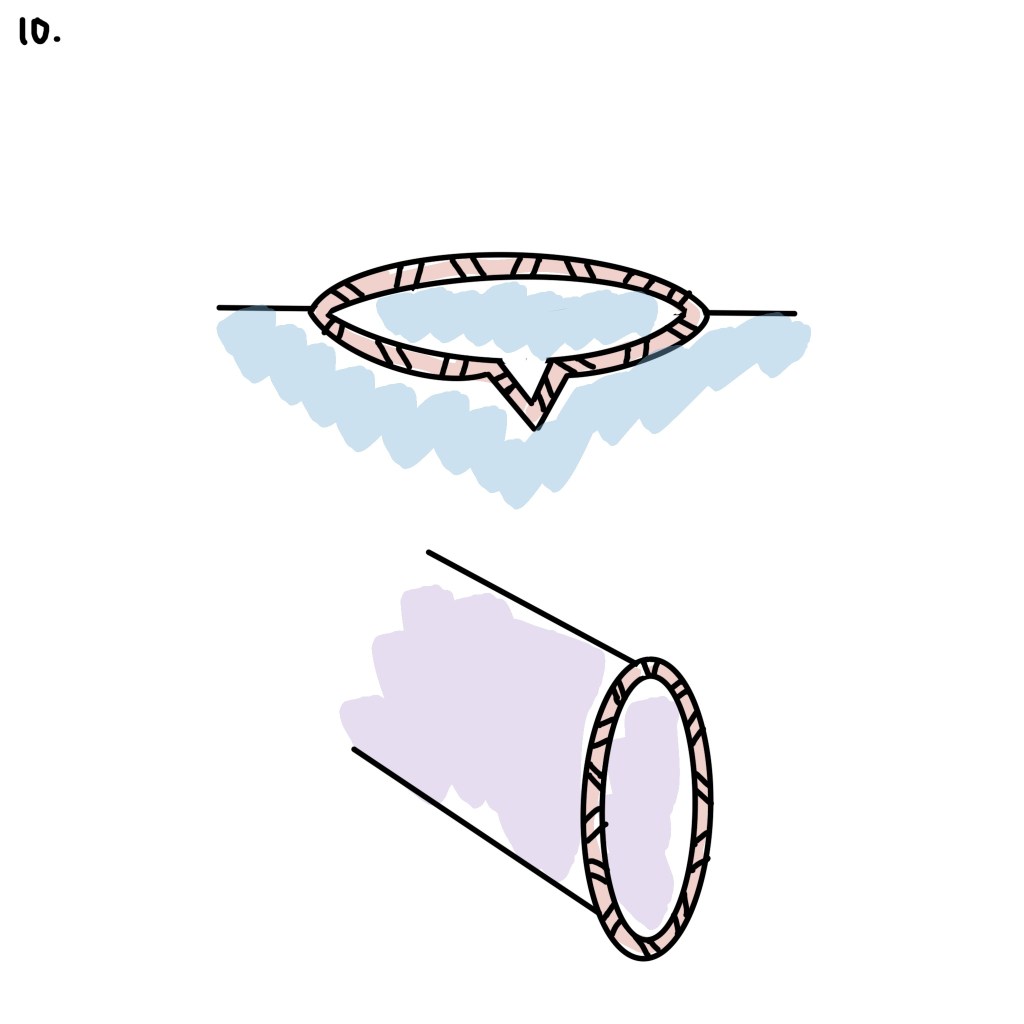
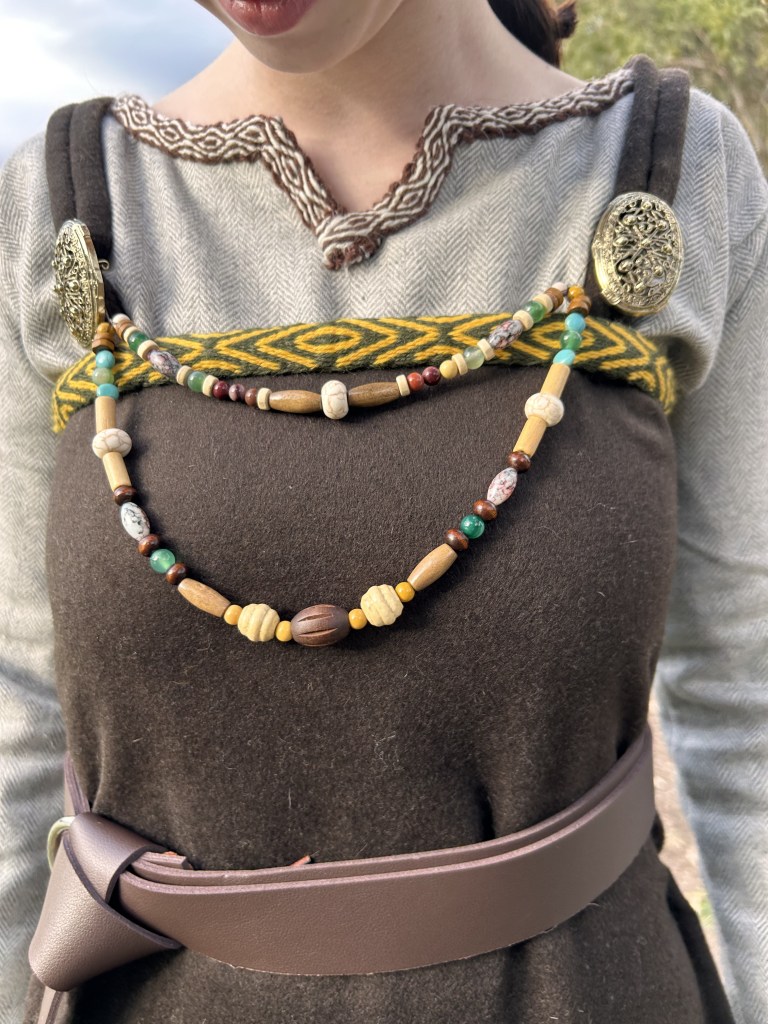
Step 11: Add your tablet woven trim!
I got mine from Etsy, you can get the same one here!
I just whip stitched this to the neckline and wrists of my dress, but you can also add this to the hem!
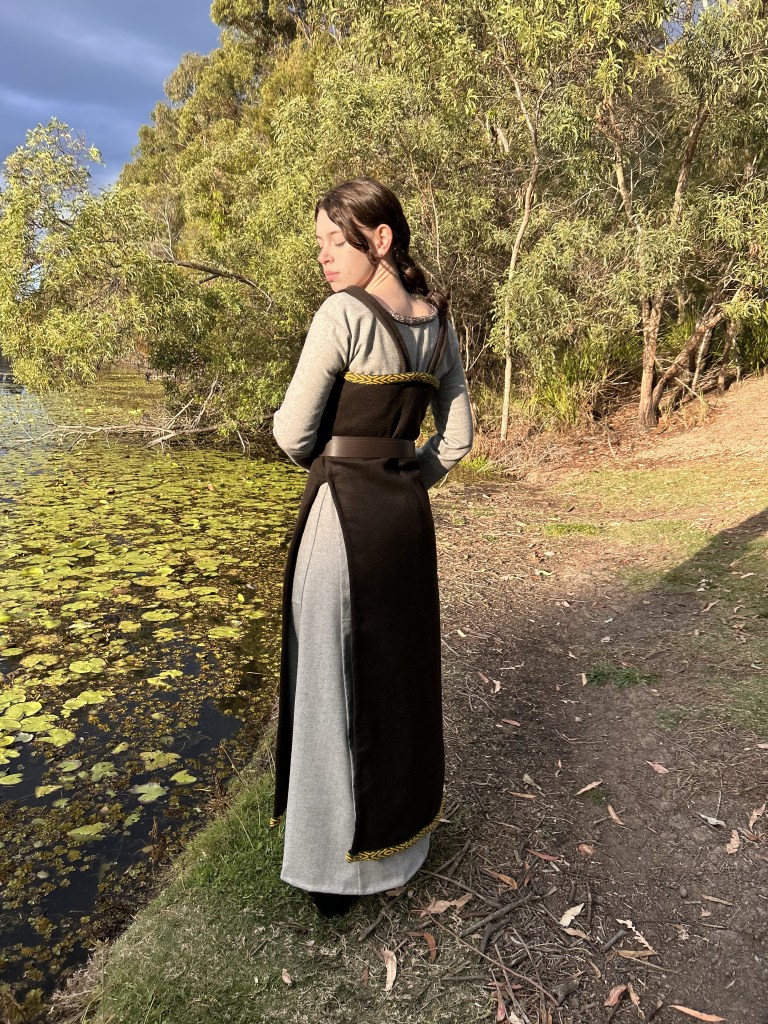
Congratulations! You’re finished! I’m sure it looks great! Be sure to tag me on instagram if you share your creation @medievalmusgrave, I’d love to see it!

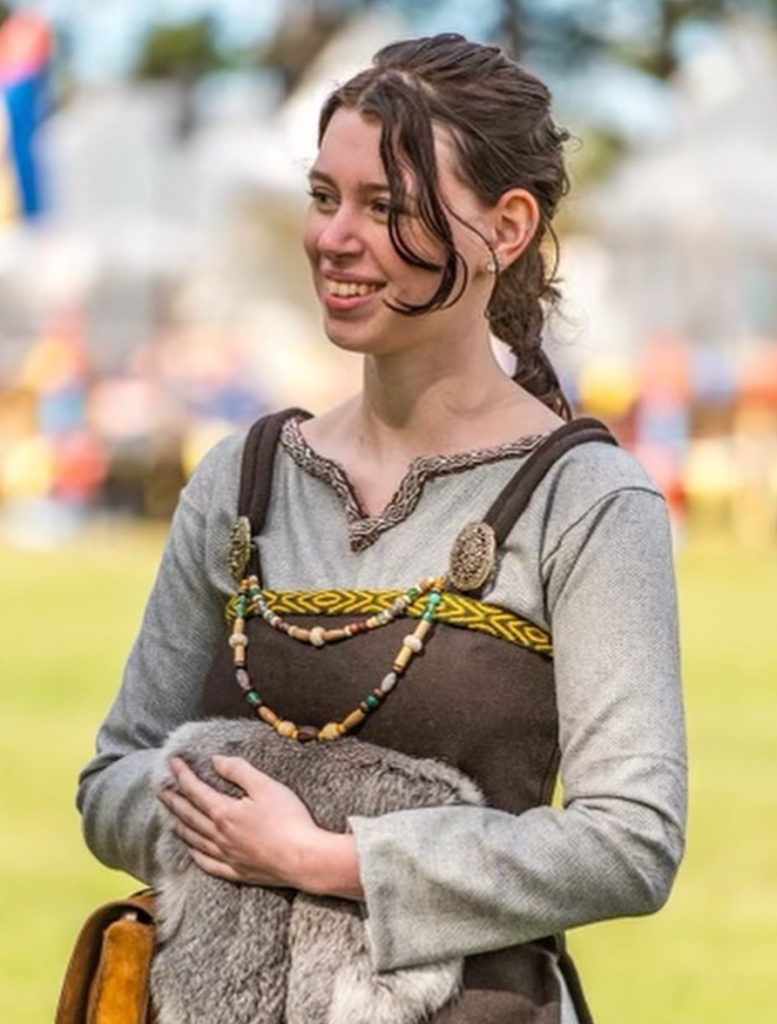

Follow my instagram and share your creations!
