
Medieval Hose Tutorial
Welcome! In this written tutorial I will guide you through the how-tos on creating a pair of medieval hose. Lets jump in!
A Brief History on Hose
Medieval women’s hose are one of the more difficult articles of clothing found in period artwork. Usually only seen in small portions, peeking out from under their skirts while performing certain activities… some… not so PG.
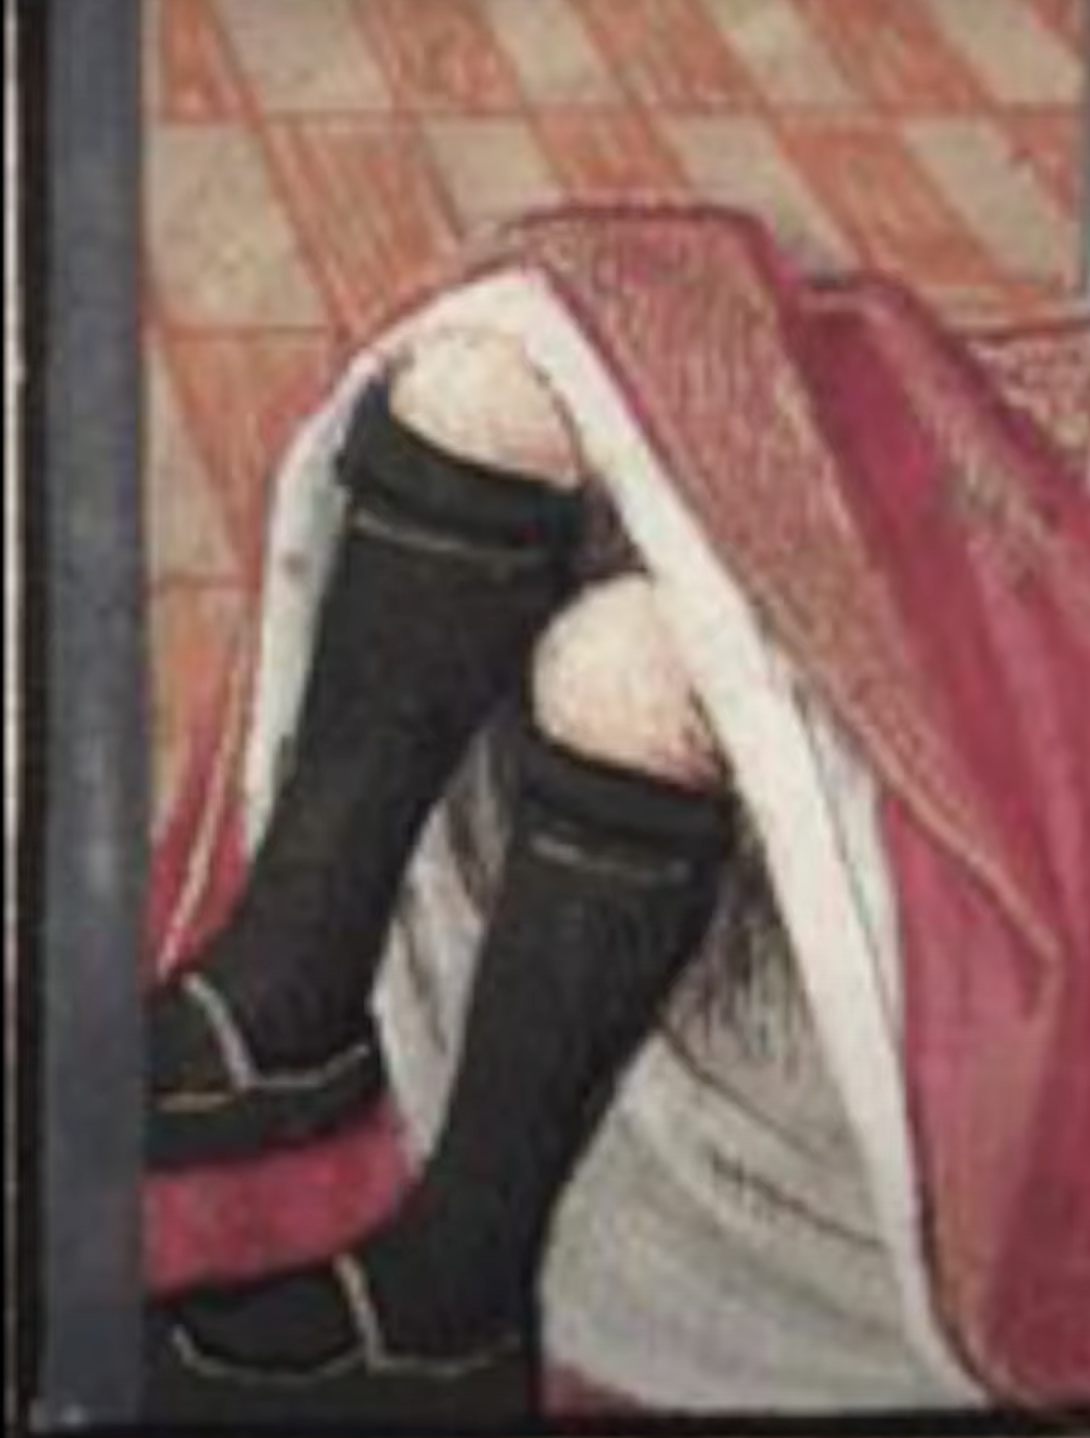
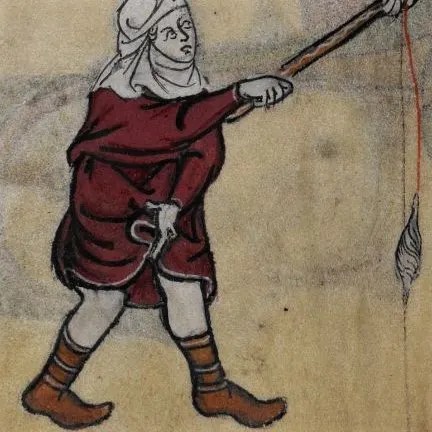
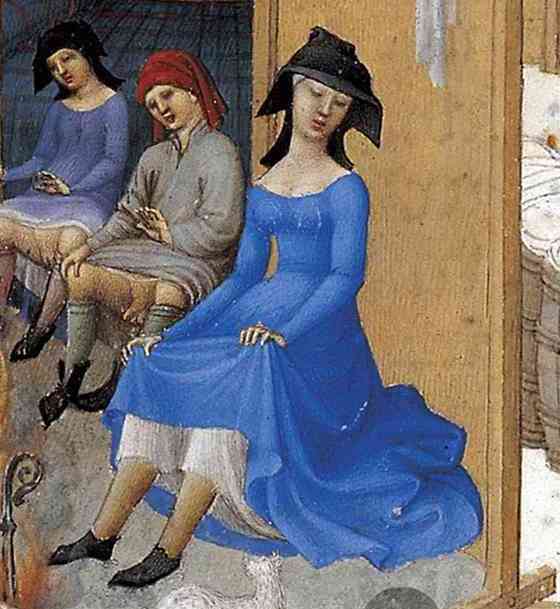
However, from the examples we can see, we are able to pick out a few details. We can see that a woman’s hose were usually knee high, skin tight, and held up by garters.
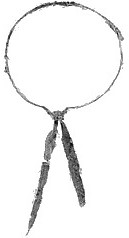
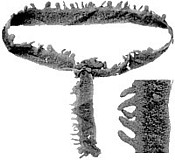
Garters are an important after-thought for your hose. While we do have examples of some beautifully embroidered garters (reserved for the wealthy), many women opted to use a scrap of fabric, tied either around the calf or just under the knee.
The hose themselves would have been made from a wool or linen. For the recreation of these garments, I would recommend using a wool twill. A not so stretchy fabric on the straight, but it has a fair bit of give on the bias (Remember that term! It’s important for later). For my personal pair, I used scraps of a cotton wool blend that I used to create my partners Viking tunic.
Tutorial
Right! Now that’s out the way, let’s get stuck in!
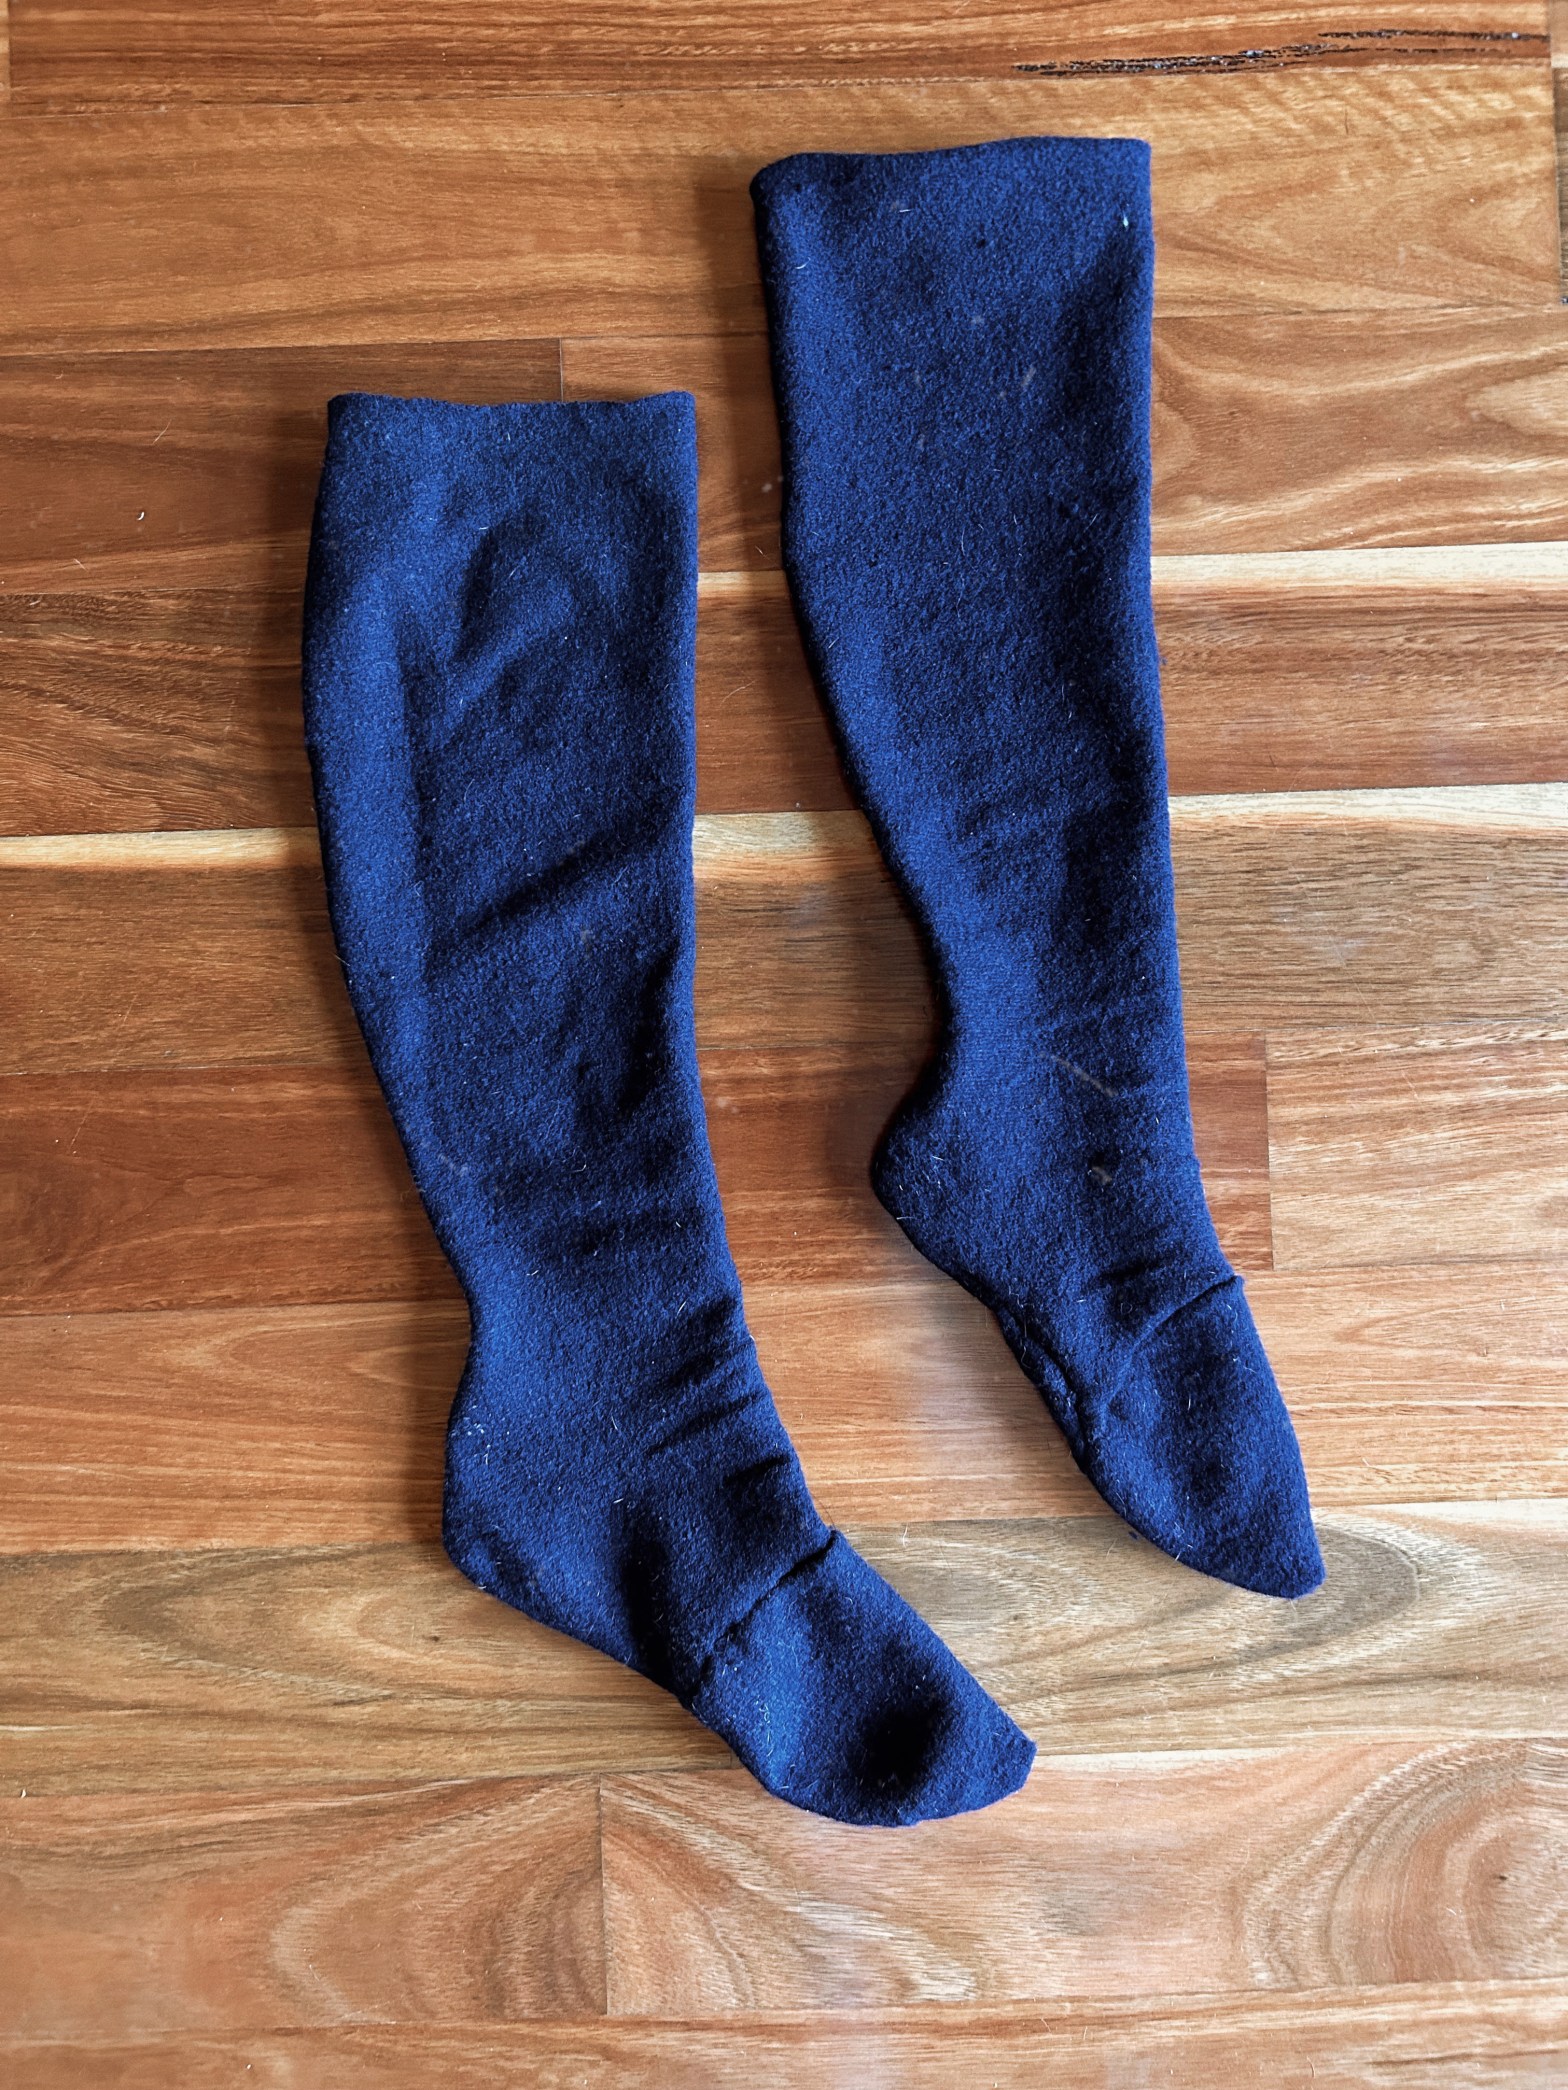
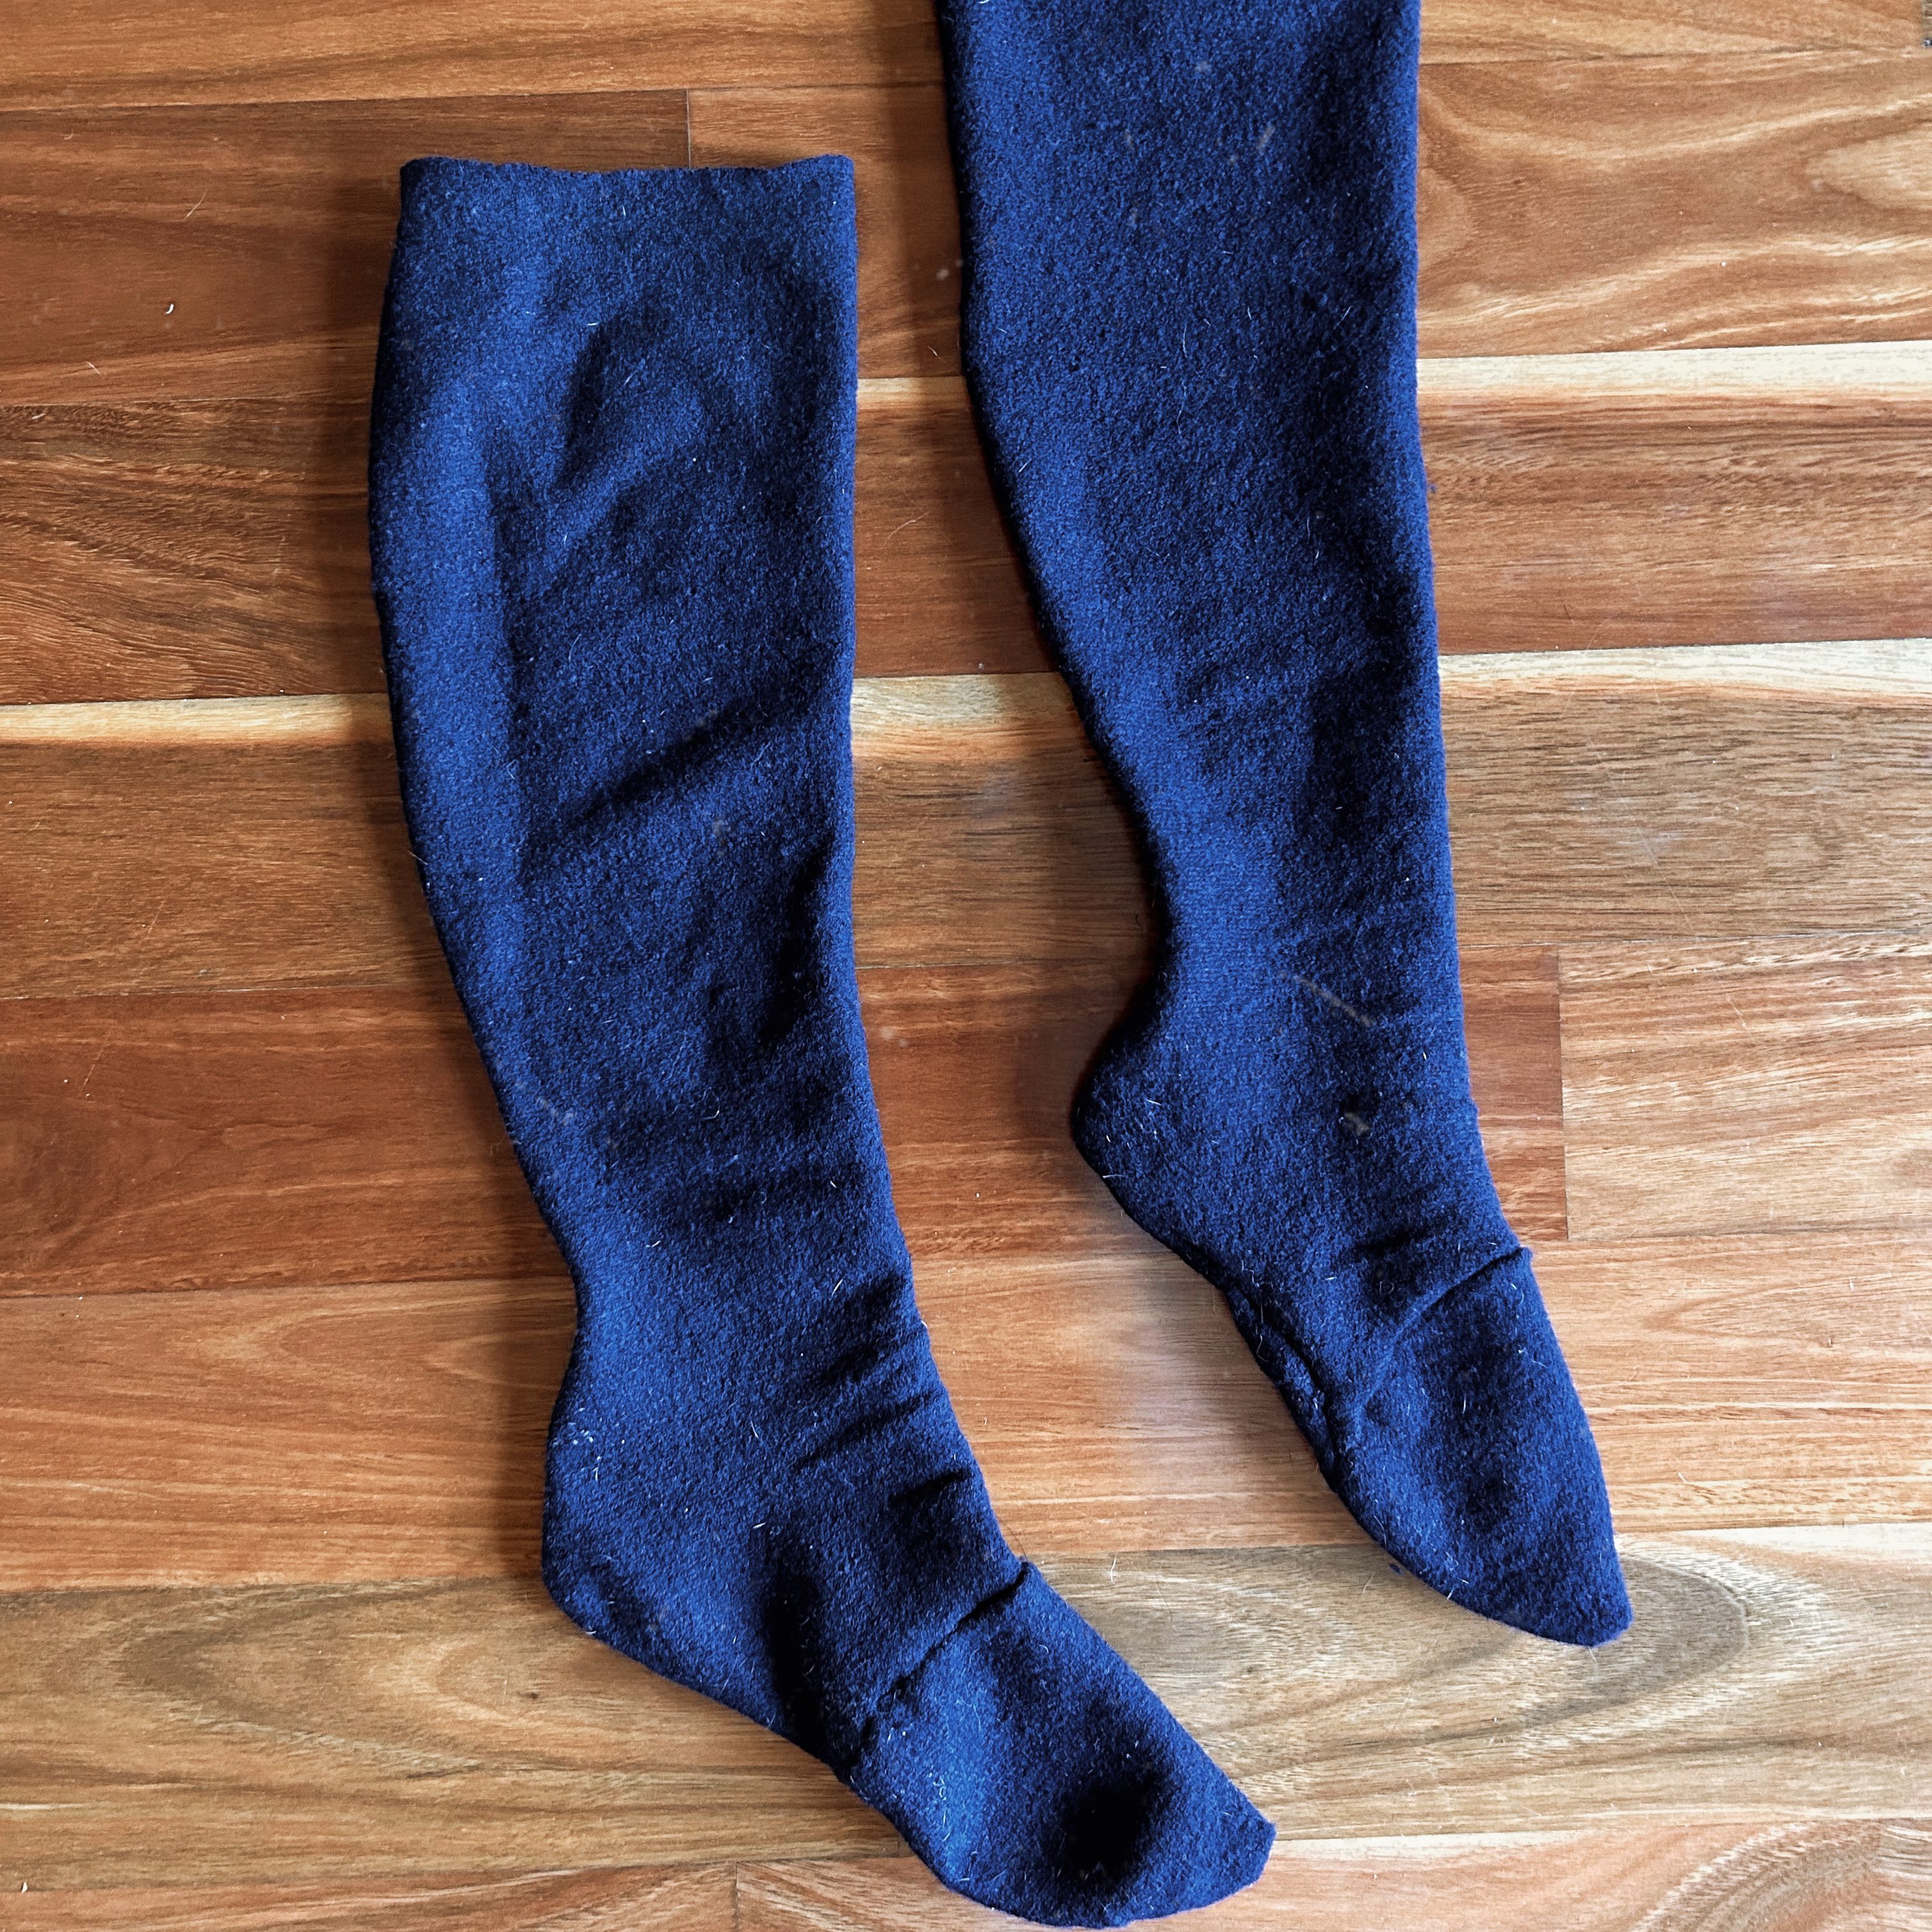
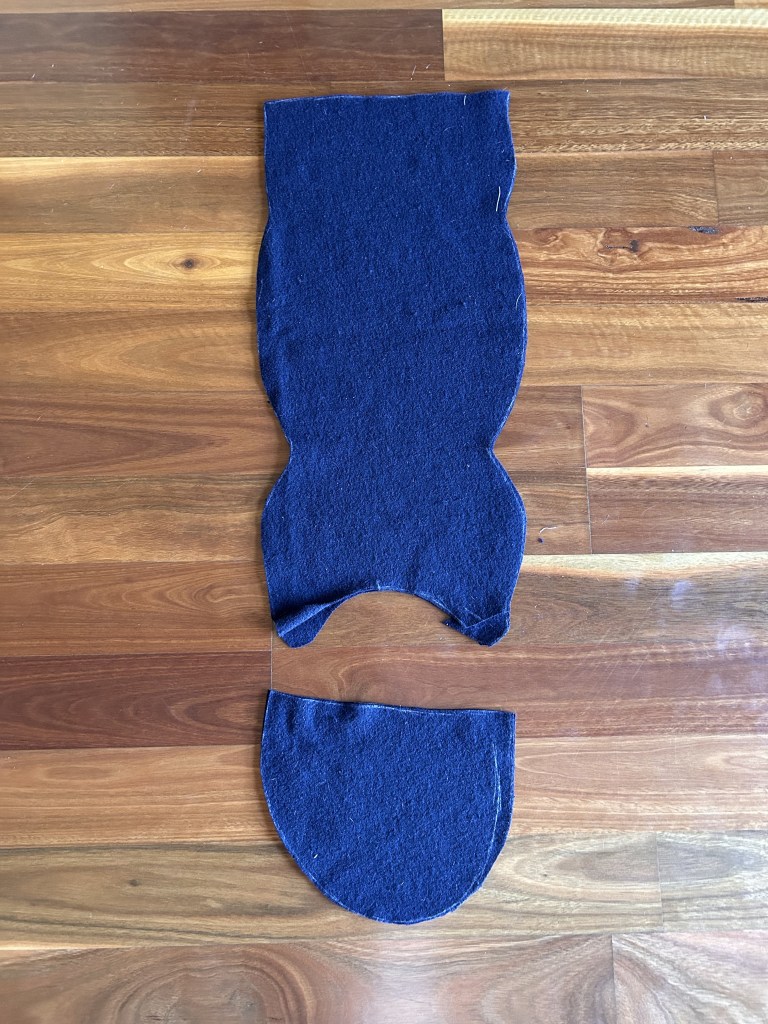
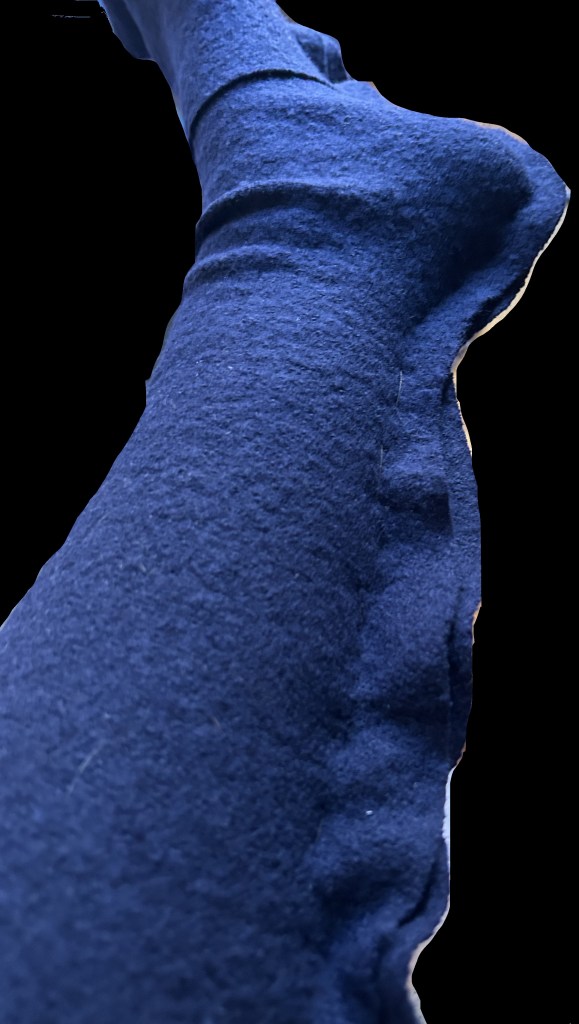
This iteration of the hose is made in two pieces. One that wraps around the ankles and calf up to the knee, and one that goes around the top of your foot and toes. See below.

We will begin this adventure by creating a mock up. For this you will want to use a fabric, that isn’t your good and most likely expensive fabric, with a similar stretch to the fabric you plan on using for your final. I used a white linen, spare from creating my medieval chemise.
Once you have your fabric, you want to begin by laying it over your leg on the bias (the diagonal, stretchy way of your fabric, give it a tug to figure out where the bias is) and pinning it directly to the shape of your leg, down the back of your calf and to the arch of your foot.
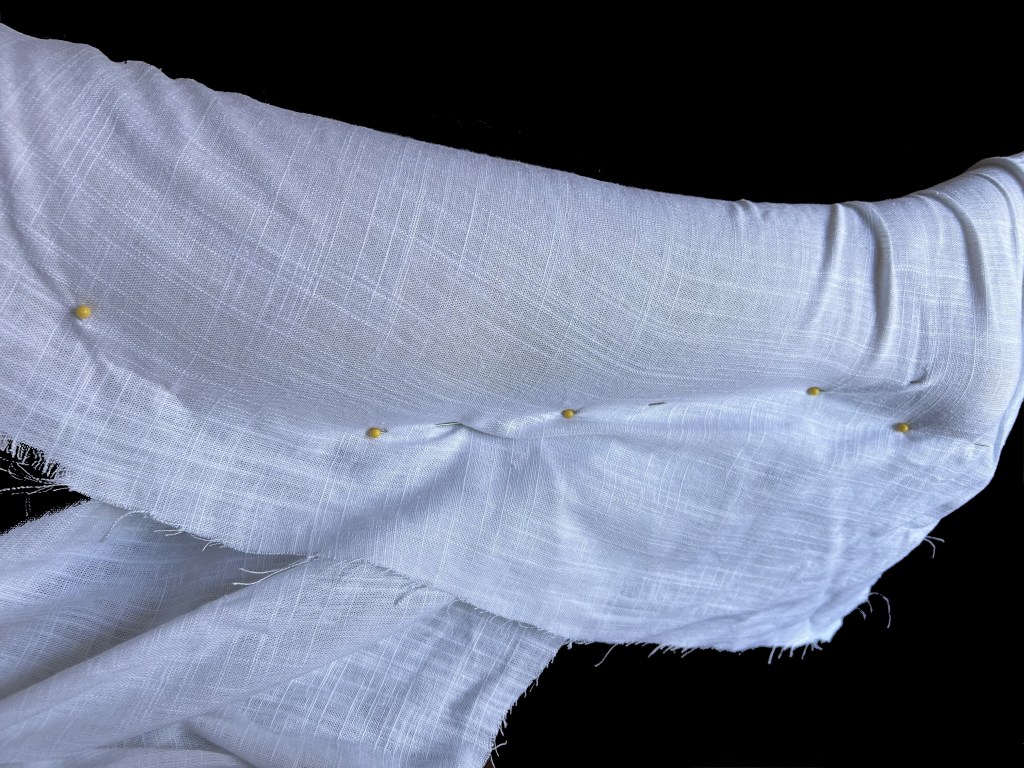
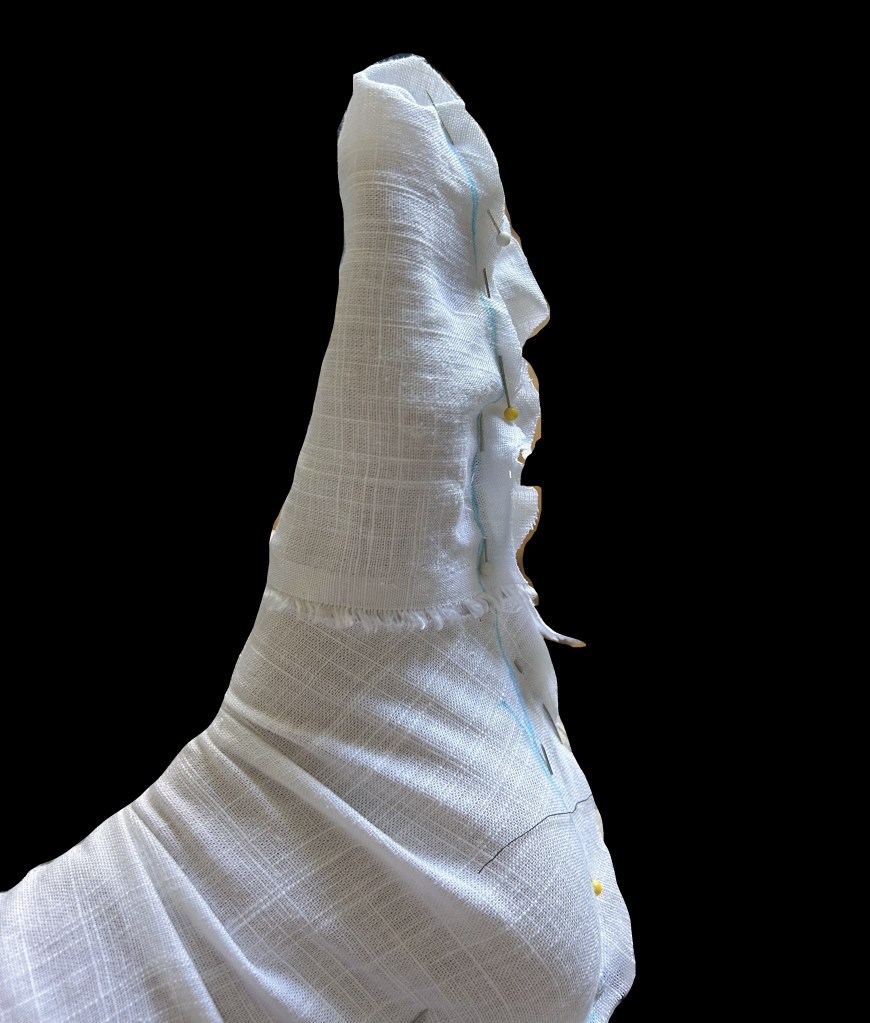
Once you have your pins in, you can mark it with pen, trim off the excess of fabric, remove the pins and neaten up the edges to get your pattern pieces.
With your pattern pieces, lay them out on your good fabric, going in the bias direction, and cut them out, giving yourself enough seam allowance to allow for any stretch differences.
As seen below, you can identify the area that goes around the calf, ankles and heels.
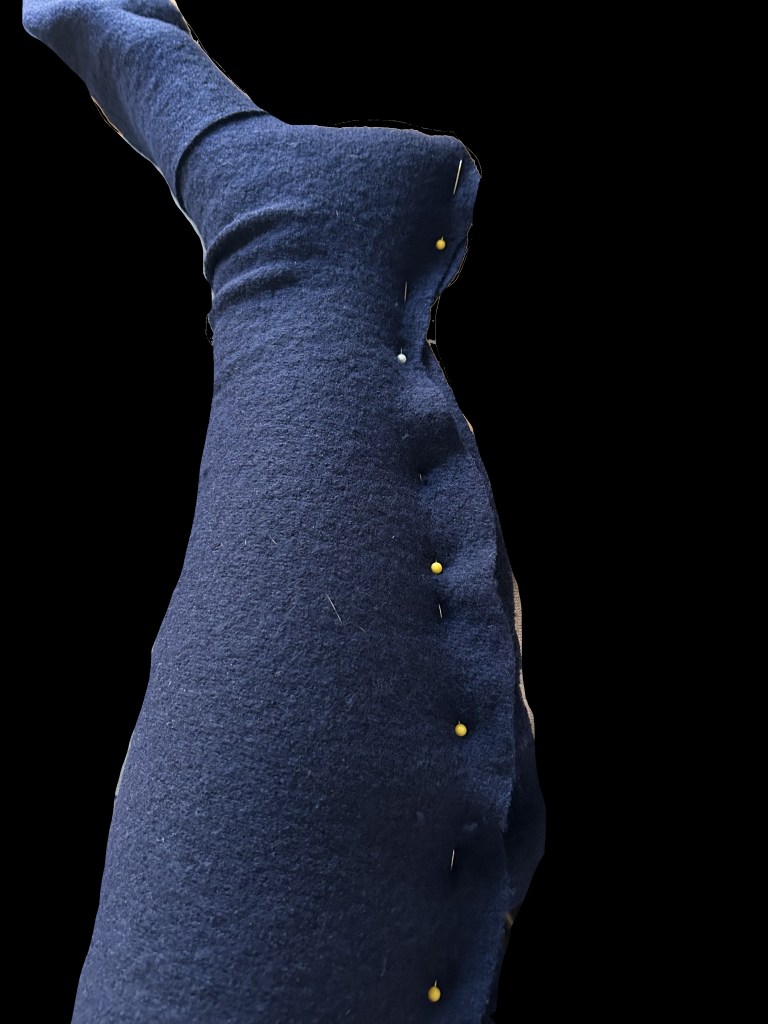
Now it’s time to start sewing. If you’re ballsy you can fold the top half of the pattern in half, pin and run it through your sewing machine. However, this is not how I did it.
Instead, I repined the pieces to my leg and basted them together, before removing the hose from my foot and running the middle seam (from the knee to the top of my toes) through my sewing machine. Once this was done, I returned to the couch for a bit of hand sewing.
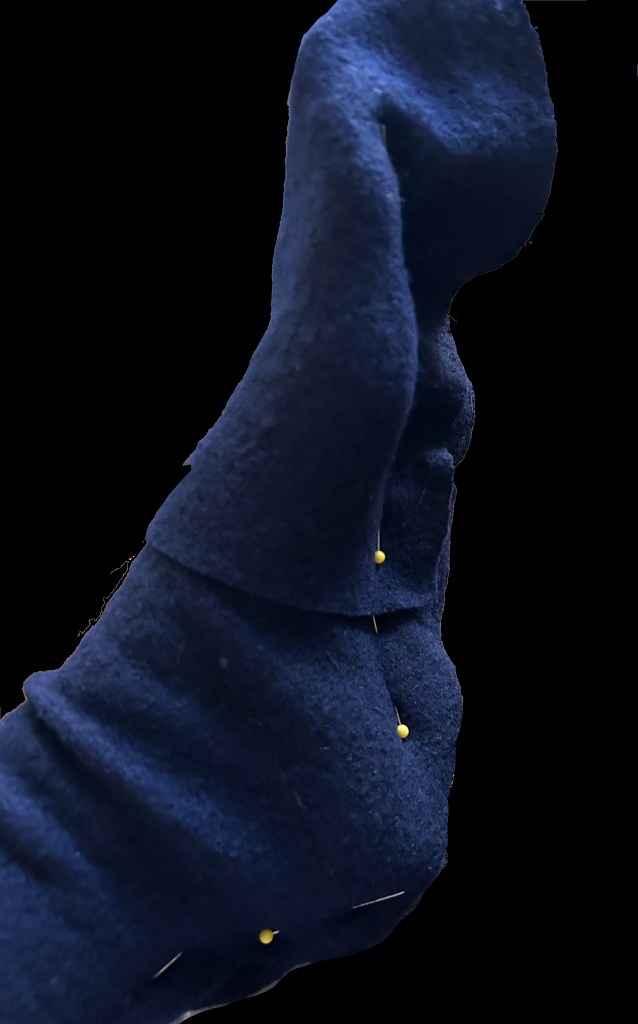
We are now going to attach the top of the foot to rest of the hose. I’m sure that this step is possible to do on a sewing machine, but to be completely honest… I couldn’t be bother to awkwardly twist it through my machine. SO! Hand sewing it was.
When sewing this seam, I would recommend wearing the hose. I did try sewing it off of my foot, but the seam ended up frumpy and extremely uncomfortable to stand on and I ended up re-sewing it after.
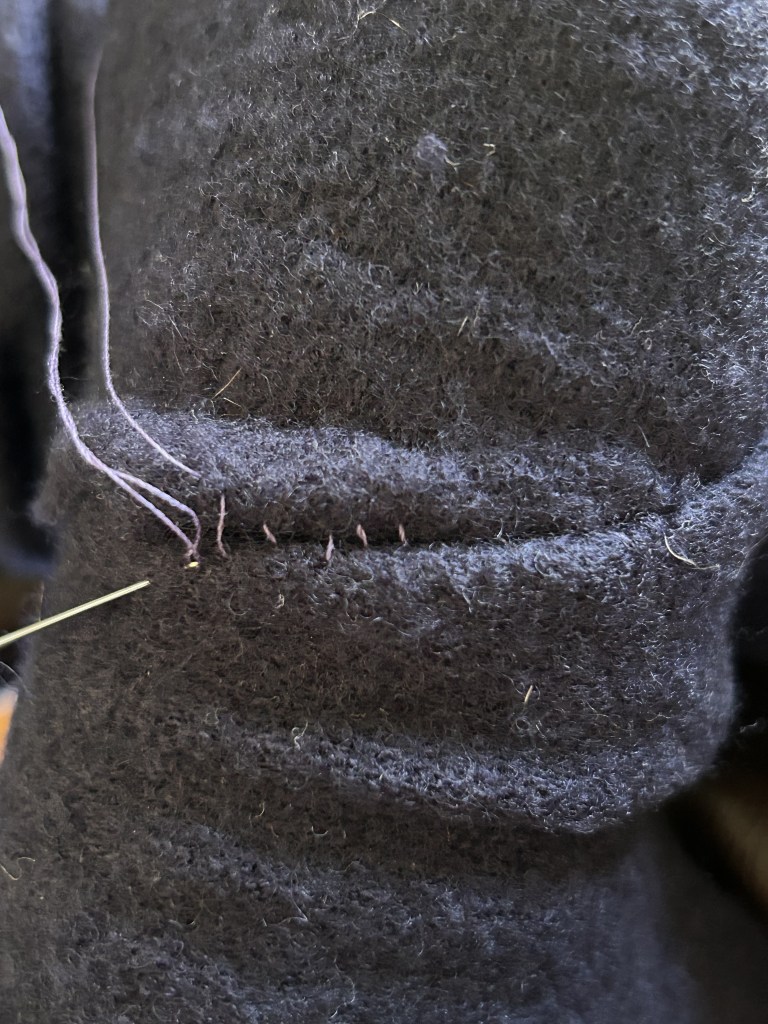
To sew the pieces together, I wore my hose right side out and ladder stitched around the seam. If you don’t know what a ladder stitch is, it is simply sliding the needle through a small amount of fabric, horizontal to the edge of the fabric, then doing it again on directly adjacent on the other edge, and working your way up the seam, making it look like a ladder. But be sure to tighten your stitch at regular intervals.
Once this seam is complete, it’s time to neaten them up, but this step is optional. If you wish to, and desire a more finished look, or you’re using a fabric that enjoys fraying, I would recommend doing these next two steps.
Begin by felling the inside seams, by folding them to one side and whip stitching them down. Once this is done, it’s time to fold over the top seam that goes around your calf, or just above your knee and stitch it down. You can either fold it down once if using a non fraying wool, or alternatively, you can fold it once by about 1cm, then fold that over again once more, and whip stitching it down to avoid unnecessary wear and tear.

And with that final stitch you’re done! Congratulations on your new, personally tailored medieval hose! You are officially ready to jig around like a true medieval lady 😉

Did you find this helpful?
Sewing my way through the Middle Ages and beyond
