
Welcome back! In this written tutorial, I will be showing you how to make the most basic of medieval kirtles, from around the 13th century. This kirtle is made up of rectangles, squares and triangles. How easy?! Lets get sewing!


Disclaimer!
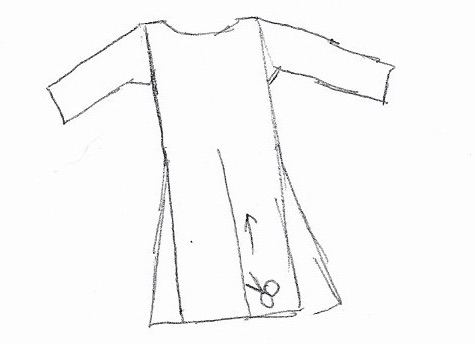
I first made this dress around 3 years ago and don’t have any pictures of the actual sewing process, so to make up for it, I have drawn some little diagrams of the sewing process. The dress I made, also had a different (albeit a much more complicated) sleeve pattern to what we will be using in this tutorial, but I’ll give that it’s own tutorial at a later date which I’ll link here.
My final dress also has pieces of white fabric to fill in the neckline, as I realised I’d get sunburnt with how wide my neckline was. This is not necessary nor was it planned, be sure to measure the neckline while wearing your dress!
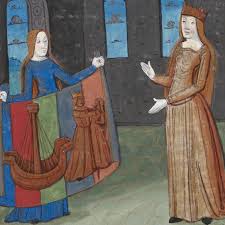
Breif history and artwork
As stated this dress is from around the 13th century and one of the most simple constructions of a medieval kirtle.
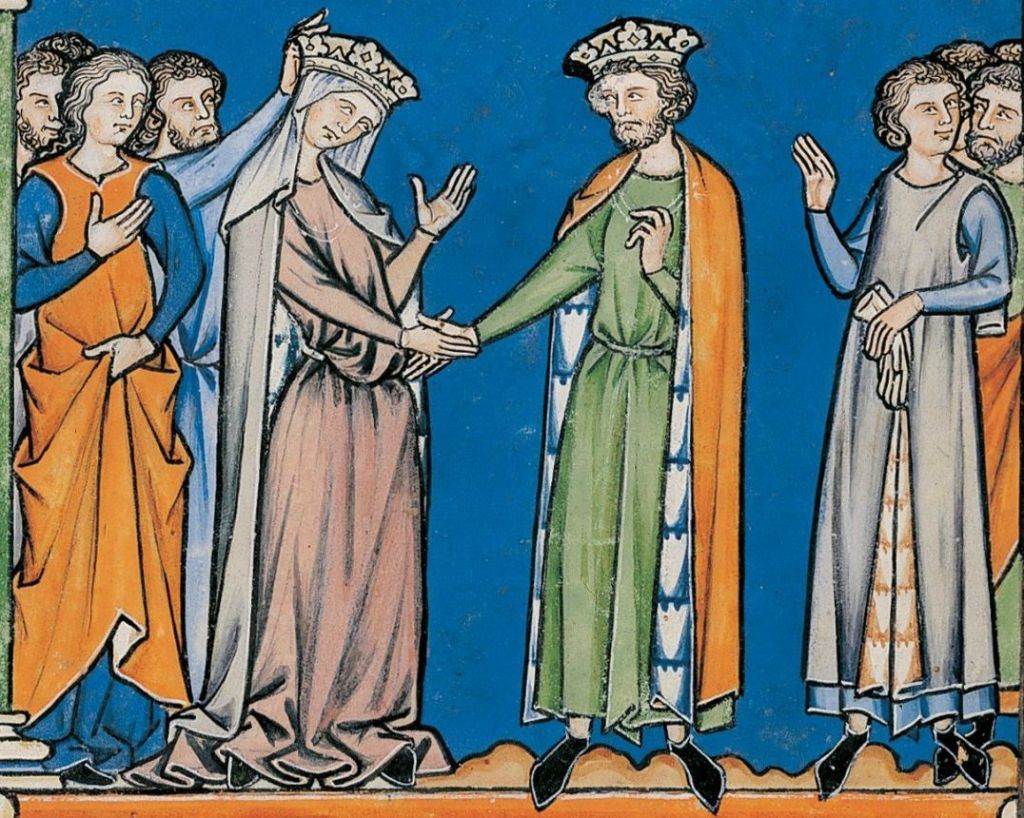
Kirtles were worn over a linen chemise (or shift/smock whatever name you choose) and sometimes under a surcote gown or other garment. Kirtles were mostly made out of wool however linen may have been used in hot weather.
Kirtles and clothing in general at this point in history were very loose fitting and had minimum shape. Any shape seen was created by a belt. This tutorial does have the option to add in bust support by taking in the waist, however this isn’t entirely historically accurate, but it is the option I chose for my kirtle.
Tutorial
Alrighty! Let’s get started. So we know that kirtles would’ve been made out of wool, but wool is expensive! For my first creation of this I used a cheap cotton, which still looked great!
For this project I used around 3m of fabric that was 112cm in width. But you can figure out how much fabric you will need by finding the area of each pattern piece, add it together and convert it to metres.
Measurements:
The measurements you will need for this project are as follows:
- Bust divided by 2 (or widest part of torso, measure all the way around). This will be for pattern piece A.
- Shoulder to floor (I recommend having the start of your tape measure on the floor so you know what your measurement is without loosing any length) This will be for pattern piece A.
- Waist to floor (to find your waist, lean to the side and where your skin creases is your waist) This will be for pattern piece C.
- Bicep circumference. This will be for pattern piece B.
- Shoulder to wrist. This will also be for pattern piece B.
Remember to add around 4cm of seam allowance to all measurements!
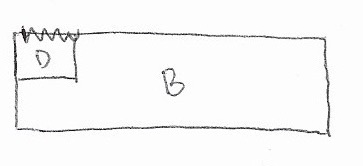
Here is an image of the pattern pieces, with measurements.
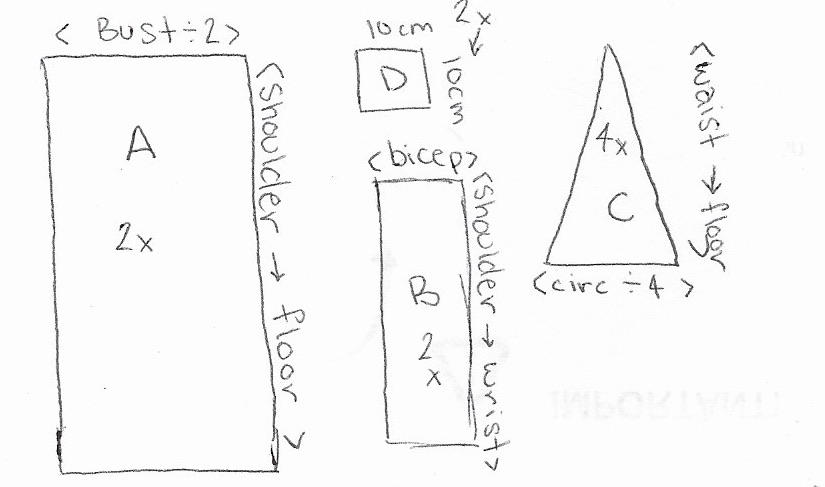
Pattern piece A will be the main body of the kirtle, piece B and D will be for the sleeve (I do recommend part D be 10cm x 10cm minimum as this will be the armpit gusset) and part C will be the gores of the kirtle.
To get the width of your gores you have to decide how big you want the circumference of your kirtle. I used 3m or 300cm for mine. I then subtracted my full bust measurement from 300cm and divided it by 4 to get the width.
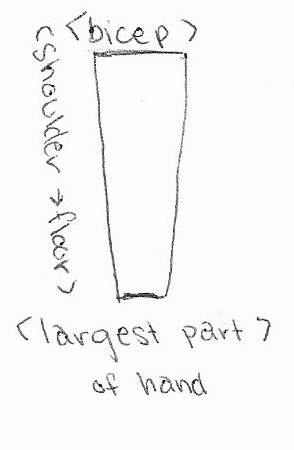
The sleeves for this pattern are quite loose, if you’d wish for a simple, more fitted sleeve, measure the widest part of your hand and taper the shape from the bicep to the hand measurement as seen below.
For a snug fitting sleeve with no armpit gusset (similar to modern day sleeves) check out this blog post on how to make a ‘S’ sleeve.
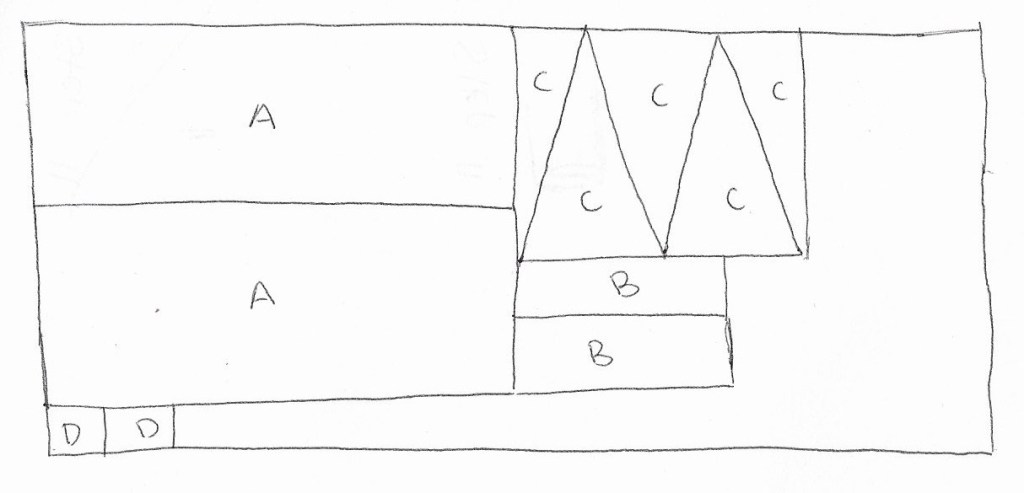
Here is a recommended layout for your pattern pieces of your kirtle. Be sure to use chalk or a wash out fabric marker to keep your final product looking clean.
Construction:
Now that you’ve cut out all of your pattern pieces it’s time to start sewing.
For my illustrations I have created a key for you all!

Step 1:
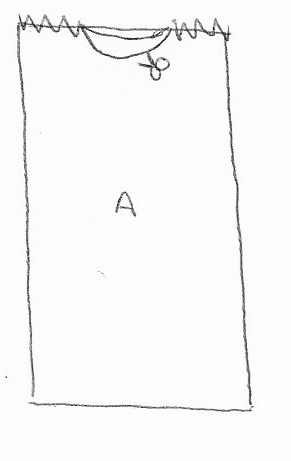
You want to begin by sewing the shoulder seams of your kirtle, but be sure to leave enough room for your head to fit through!
Slide it on and with chalk or a removable fabric marker, trace out your desired neckline shape and cut it out.
Step 2:
Now for the sleeves! Sew one side of your arm gusset (piece D) to one side of piece B.
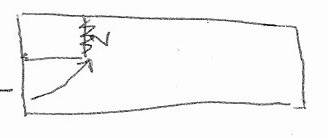
Step 3:
Now attach the right side of part D to the other side of part B, so the gusset creates a diamond shape.
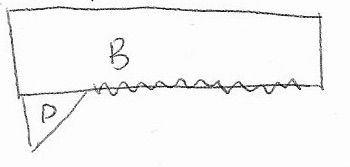
Step 4:
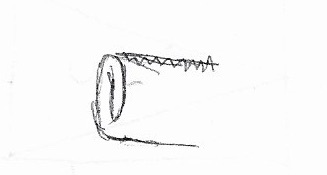
Now sew down the straight side of your sleeve, so when laid flat it looks like this!
Now to attach the sleeves to kirtle body. If you’re using a stiffer fabric, I recommend putting on your kirtle inside out and tracing out an arm hole to avoid having block shoulders, this isn’t necessary for a light material like cotton or if you’d like a drop shoulder look.
Step 5: With right sides together pin the sleeve to the arm hole with the shoulder seams lined up and sew all the way around. Try this on now, so you can make any necessary adjustments before moving on.
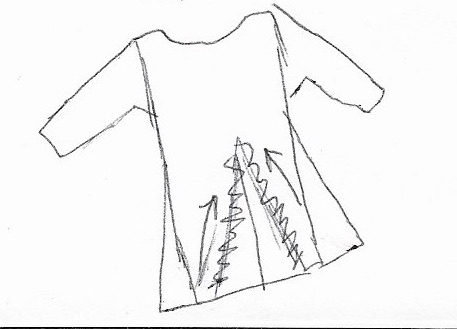
Step 6: Now it’s time to attach the side gores. With two of your full gores, attach them from the bottom up. Gores are possible to sew purely on a machine but can be difficult to can a nice point. If you’re not confident on a machine or don’t want any puckering I’d recommend sewing the point of your gores by hand.
Once you have placed in your gores, sew up the side seam from armpit to the top of your gore.

Step 7: Now for a scary part. Cutting your garment!
First measure from the bottom of the kirtle to your waist measurement and mark it out on the front and back. The cut up that line.
Attach the back gore the same as the side gores before moving to the front.
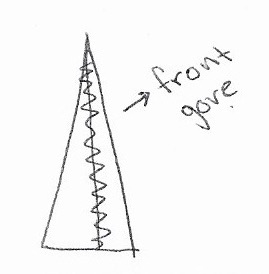
Step 8: With your two half triangles, sew them together on the straight line. This is your front gore (for a lil extra fancy up front). Attach this the same as your other gores.
Congratulations! You’ve done all the construction of your kirtle! I’m sure it looks amazing! This step is optional, but if you wish for some bust support you can take in your kirtle on the sides. Simply flip it inside out, pop it on, and with your fabric marker or chalk, pull at the waist and mark your body shape. Then just sew along your marked line, and cut the excess or for a more reversible take in, fold towards the back and tack it down with a hidden whip or ladder stitch.
Now to neaten up the hems and if you want to, fell the seams!
Step 11: For hemming around the neckline, sleeve cuffs and skirt hem, fold the fabric over once, then fold it over a second time and whip stitch it down (I recommend doing this by hand)
For felling the seams, I have previously just folded them over to one side and used a blanket or whip stitch to keep your seams from fraying. This can also be done with an overlocker (If you’re lucky enough to have one) or with a zig-zag stitch on your sewing machine for a faux overlock look.
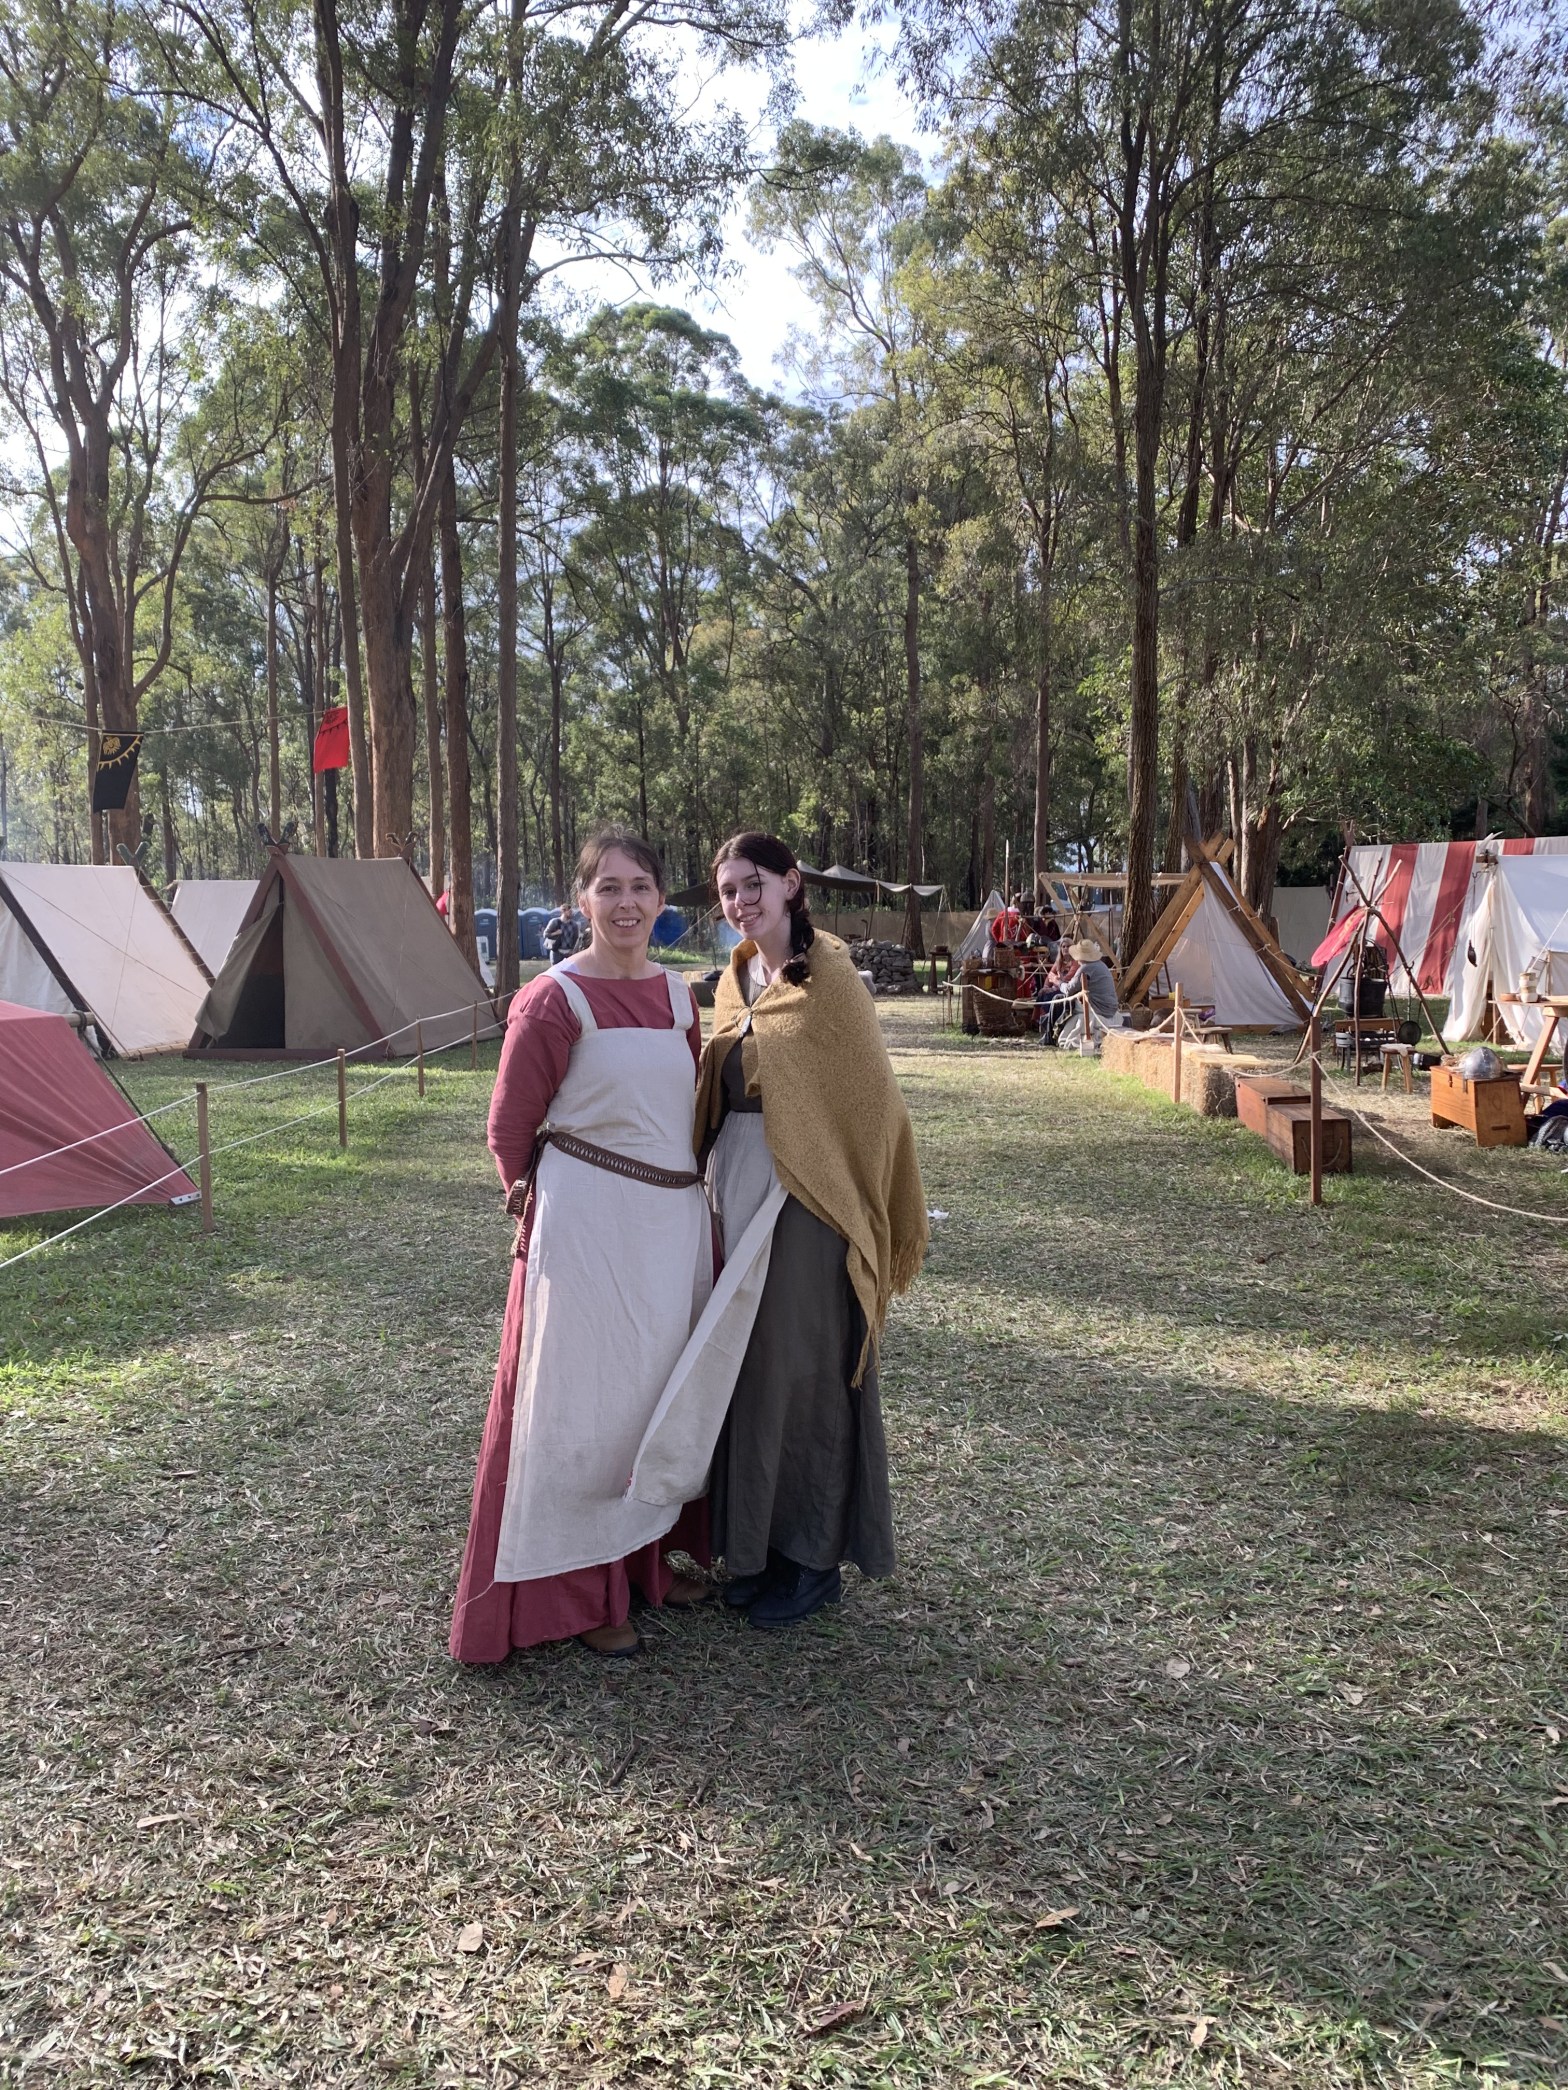
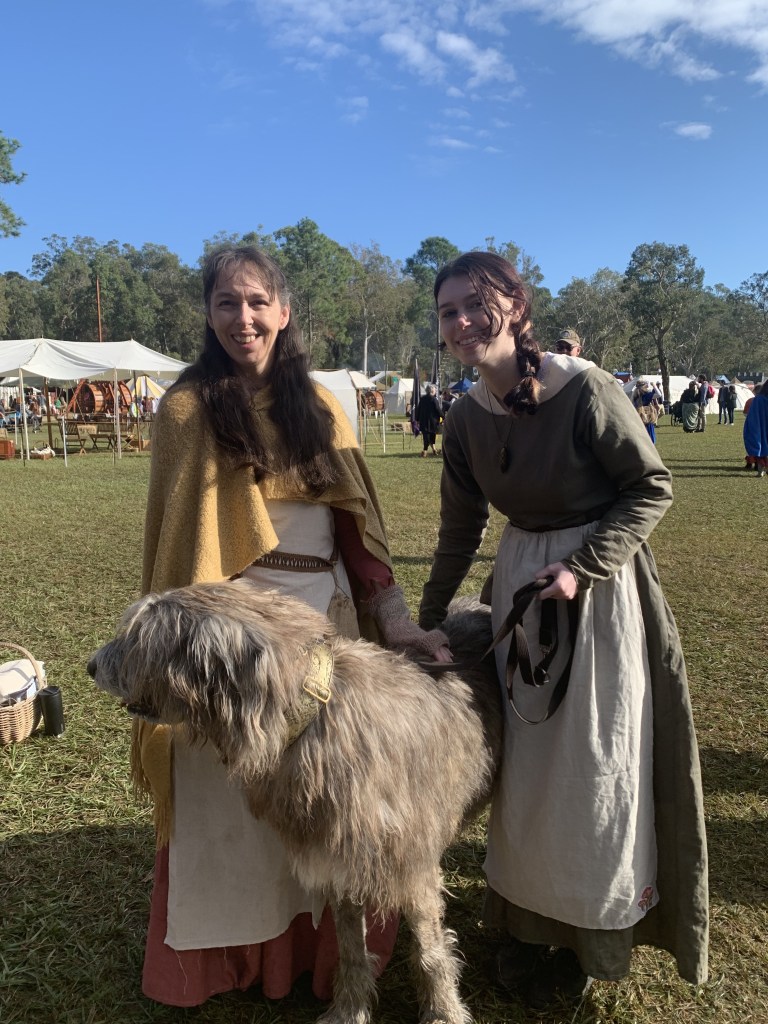
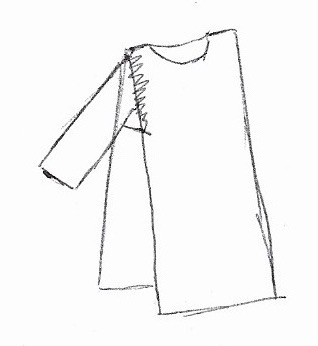
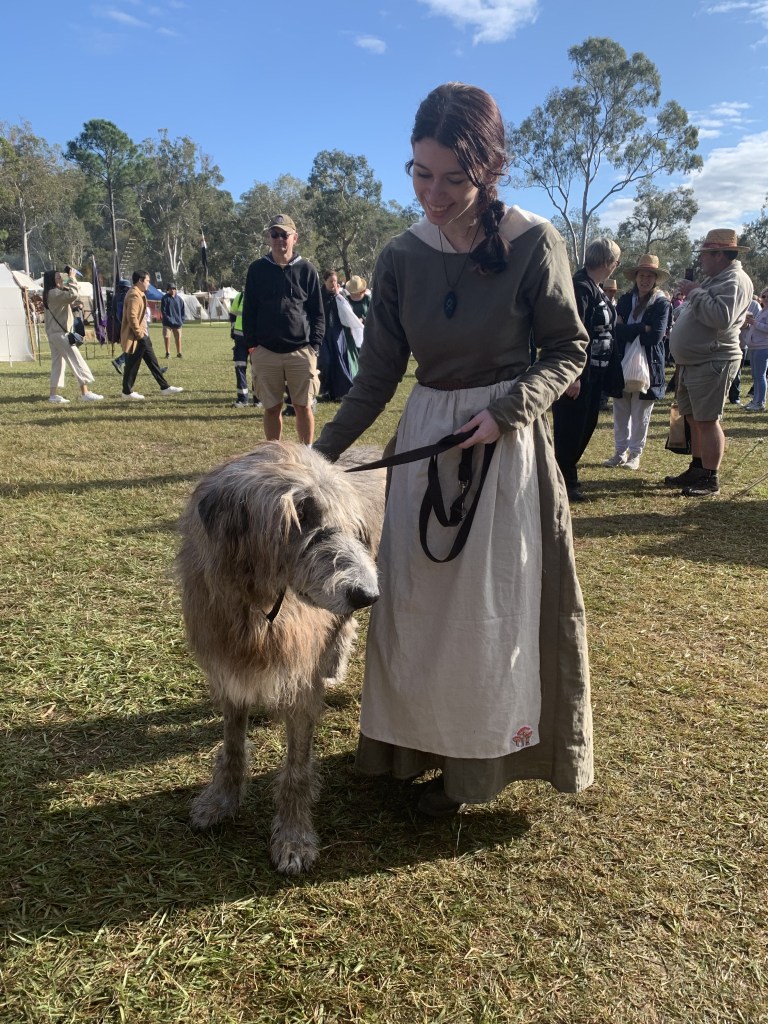
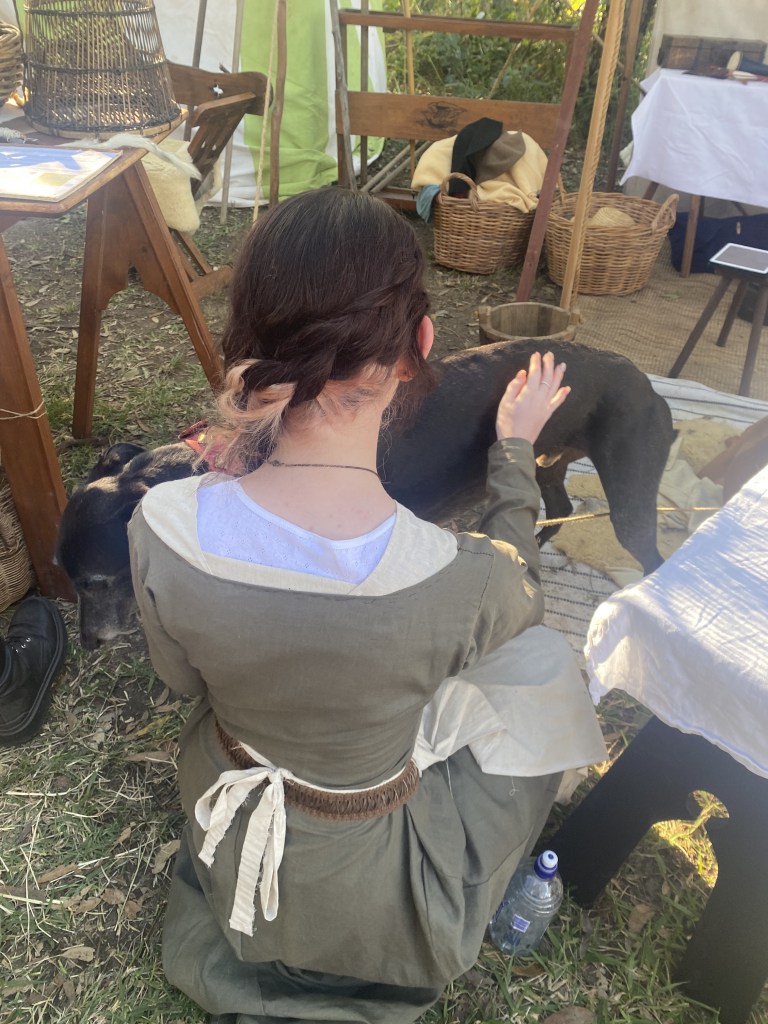
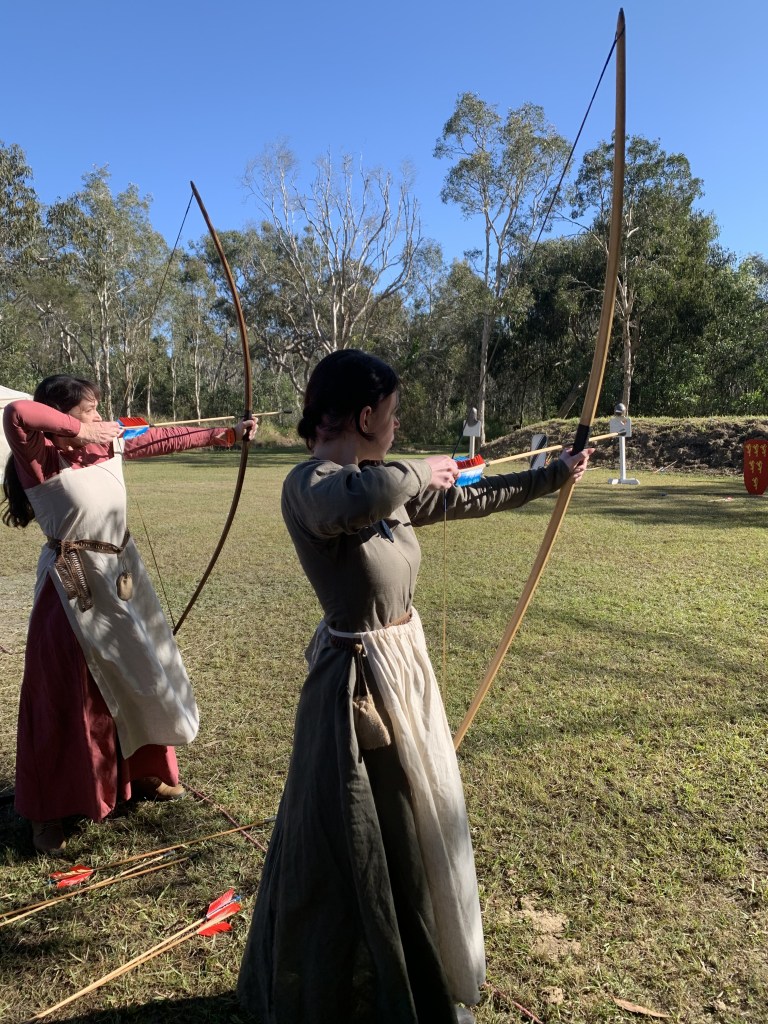
Congratulations! You’re all done! Below are some images of the kirtles I made for me and my mum! I’d love to see your creations so tag me on Instagram @medievalmusgrave.


Did you find this helpful?
Sewing my way through the Middle Ages and beyond

2 Comments